


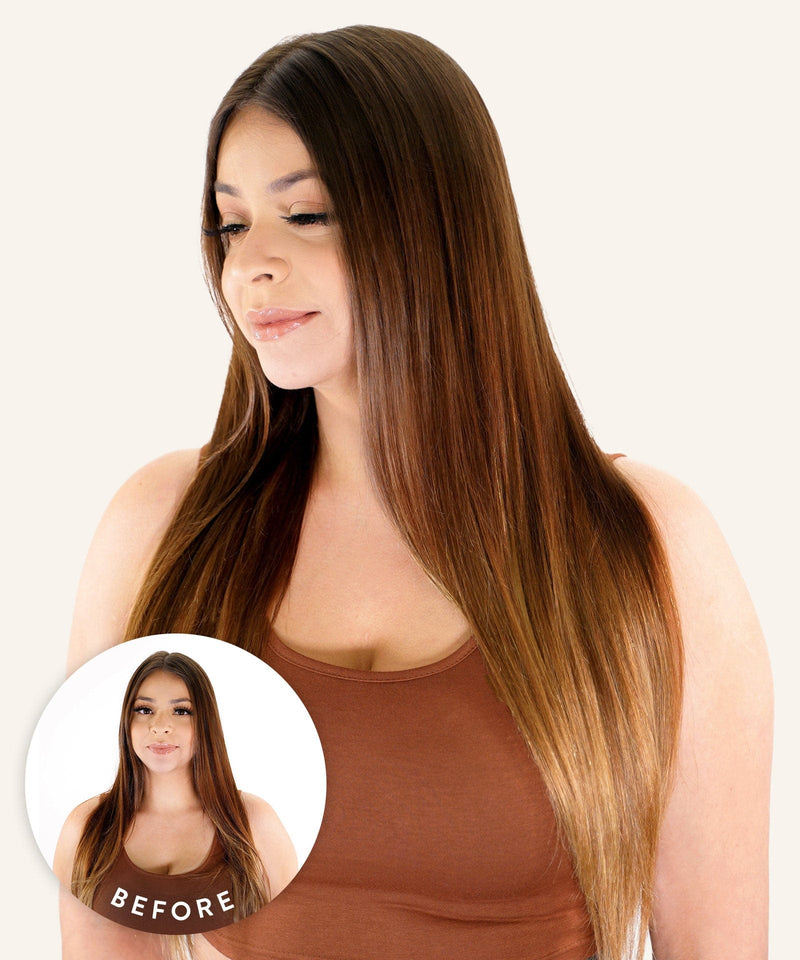
How to Remove Hair Extensions: The Complete Guide
Quick Answer
Clip-in extensions remove in seconds - just unclip and store. Tape-ins need an oil-based or alcohol-based remover solution applied to each bond, then gentle sliding. Fusion and keratin bonds require a bond remover and pliers. Never pull or force any extension type - patience protects both your extensions and your natural hair.
 Why Proper Removal Makes All the Difference
We hear this more often than you'd think: "I just pulled them out." And we completely understand the impulse - after weeks of wearing extensions, you want them out now. But how you remove your hair extensions has a direct impact on whether your natural hair stays healthy, whether your extensions can be reused, and whether your next installation goes smoothly.
The Most DISASTROUS Hair Extensions EVER (I'm Traumatized)
Improper removal is the number one cause of hair extension breakage complaints we see. In almost every case, it wasn't the extensions that caused the damage - it was the removal. The good news? When you know what you're doing, removing hair extensions is genuinely straightforward, whether you're doing it yourself at home or visiting a stylist.
"After nearly 20 years in this industry, the question I wish more people asked before buying is: 'How do I take these out?' The removal process is just as important as the installation, and when it's done right, your hair stays healthy and your extensions can often be reused. That's what we want for every single one of our customers."
- Priyanka Swamy, Founder of Perfect Locks
In this guide, we walk through the safe removal process for every extension method we offer - tape-ins, clip-ins, halo extensions, fusion and keratin bonds, hand-tied and machine wefts, and beaded wefts and I-tips. We'll also cover what tools you need, what to absolutely avoid, and how to care for your hair once the extensions are out. For your ongoing routine beyond removal day, our complete hair extensions care guide has everything you need.

Tools You'll Need Before You Start
Having the right supplies ready before you start makes the whole process faster and much safer. What you need depends on your extension method - here's a complete overview.
For Tape-In Removal
- Tape-in bond remover solution (oil-based or alcohol-based)
- Rat tail comb or sectioning clips
- Fine-tooth comb or extension brush
- Clean towels or paper towels
- Clarifying shampoo (for after removal)
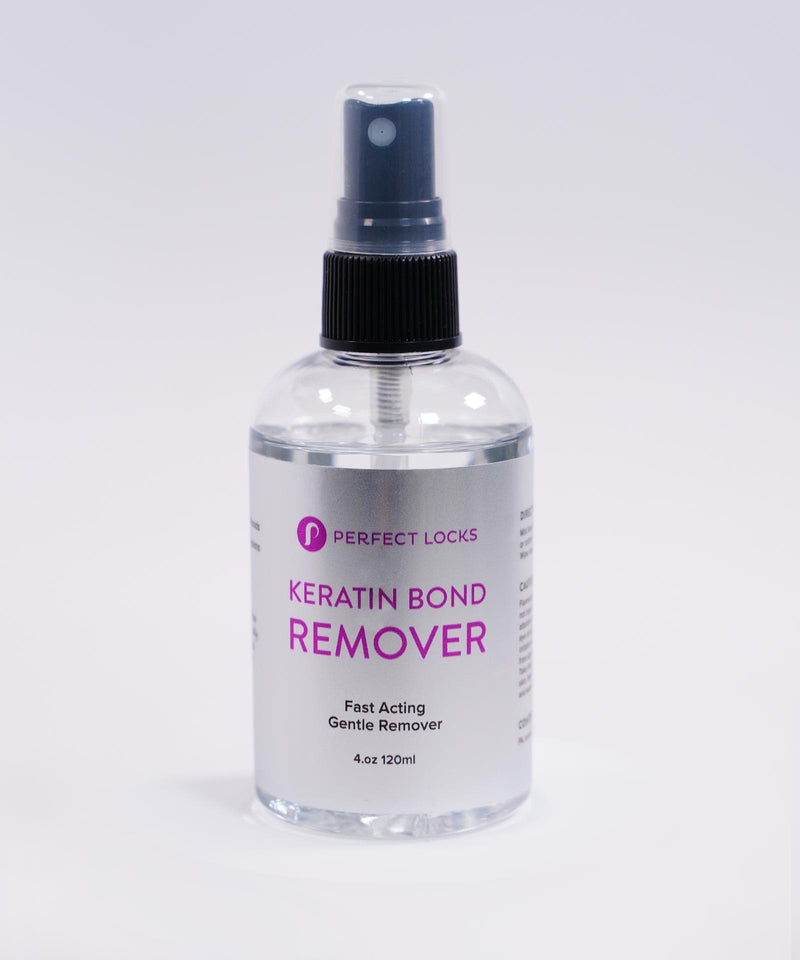
Our Pure Adhesive Remover is specifically formulated for our tape-in bonds - infused with natural orange oils so it's gentle on your scalp while breaking down the adhesive completely.
For Clip-In Removal
- Just your fingers - no tools required
- Wide-tooth comb for detangling after
- A storage case or bag for your wefts
For Halo Extension Removal
- Just your fingers
- A soft storage bag or box to keep the wire from bending
For Fusion and Keratin Bond Removal
- Keratin bond remover or acetone-based solution
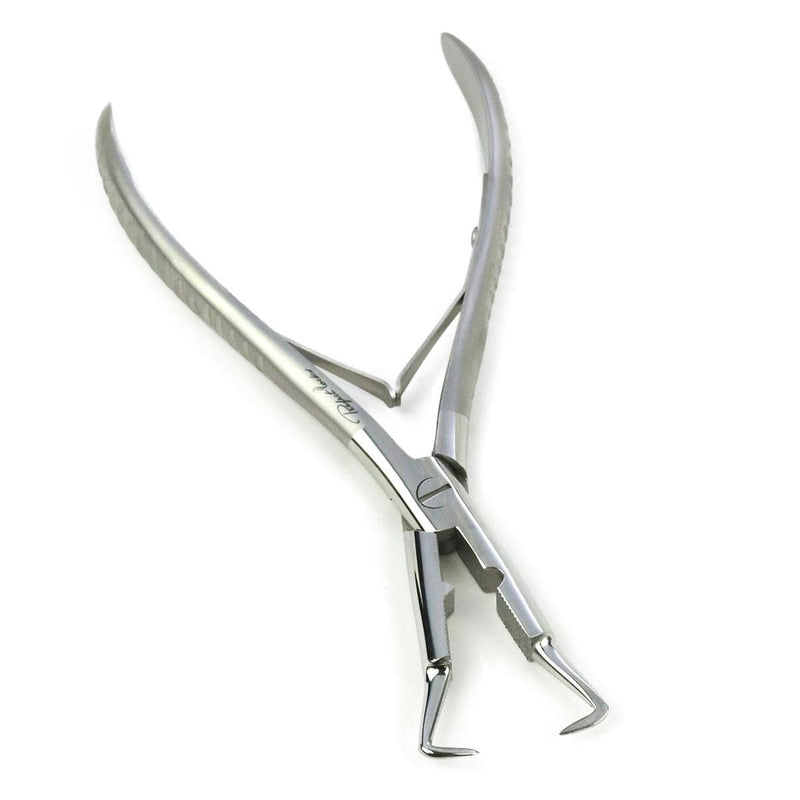
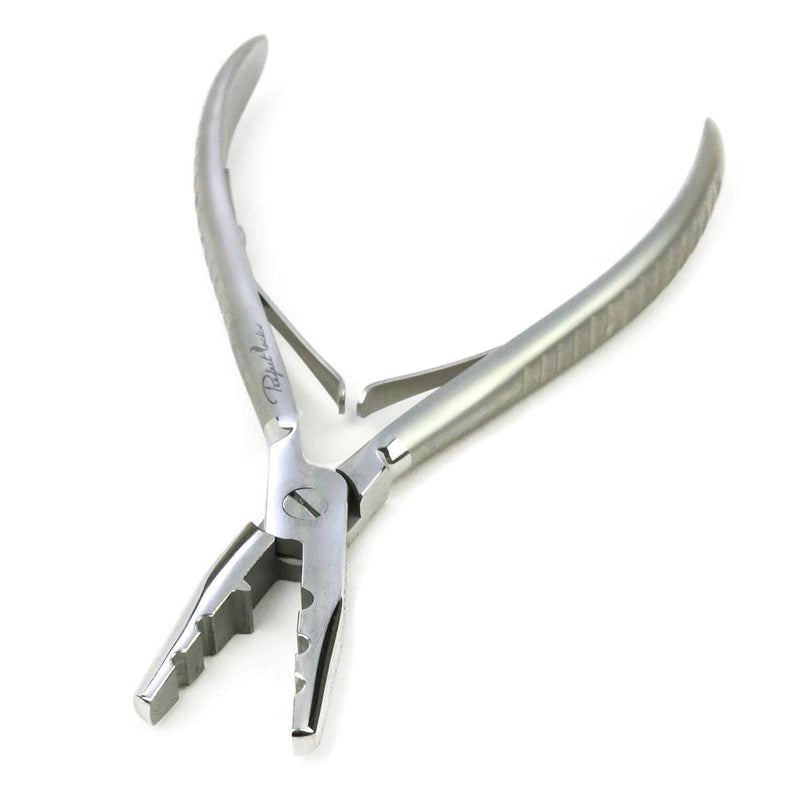
- Bond-breaking pliers (flat-faced, not serrated)
- Wide-tooth comb
- A professional removal tool kit (we recommend having a stylist do this)
For Beaded Weft and I-Tip Removal
- Flat-nose or removal pliers
- Rat tail comb for sectioning
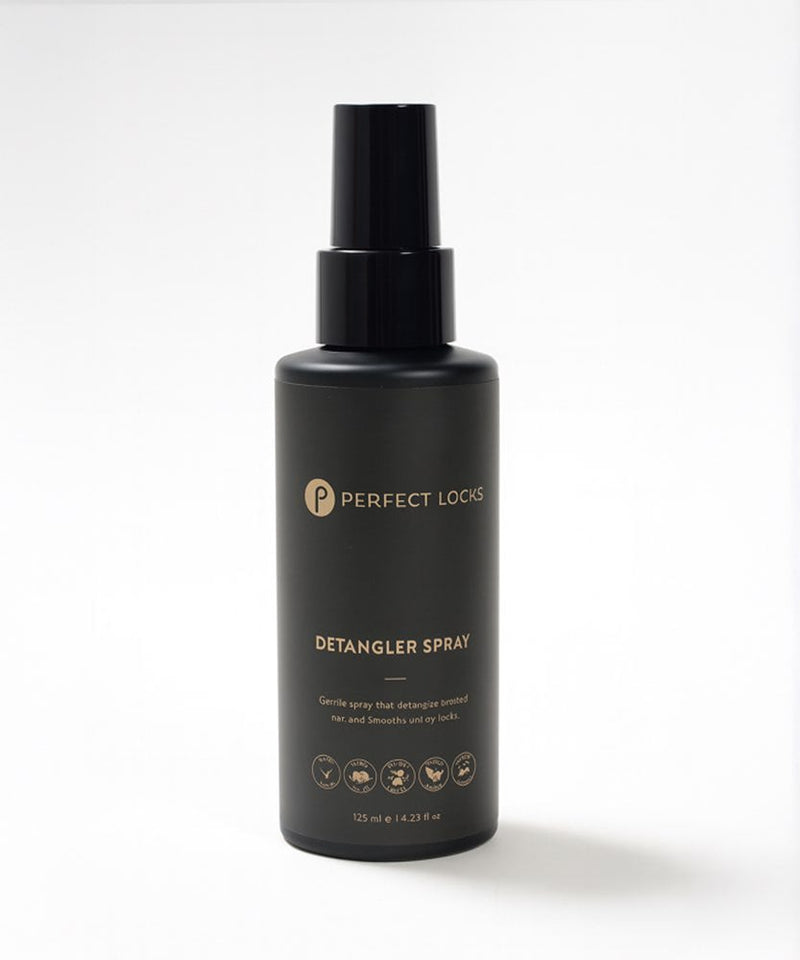
- Detangling spray
For Hand-Tied and Machine Weft (Sew-In) Removal
- Small scissors or a seam ripper
- Rat tail comb for sectioning
- Wide-tooth comb for detangling the braid base
- Detangling spray
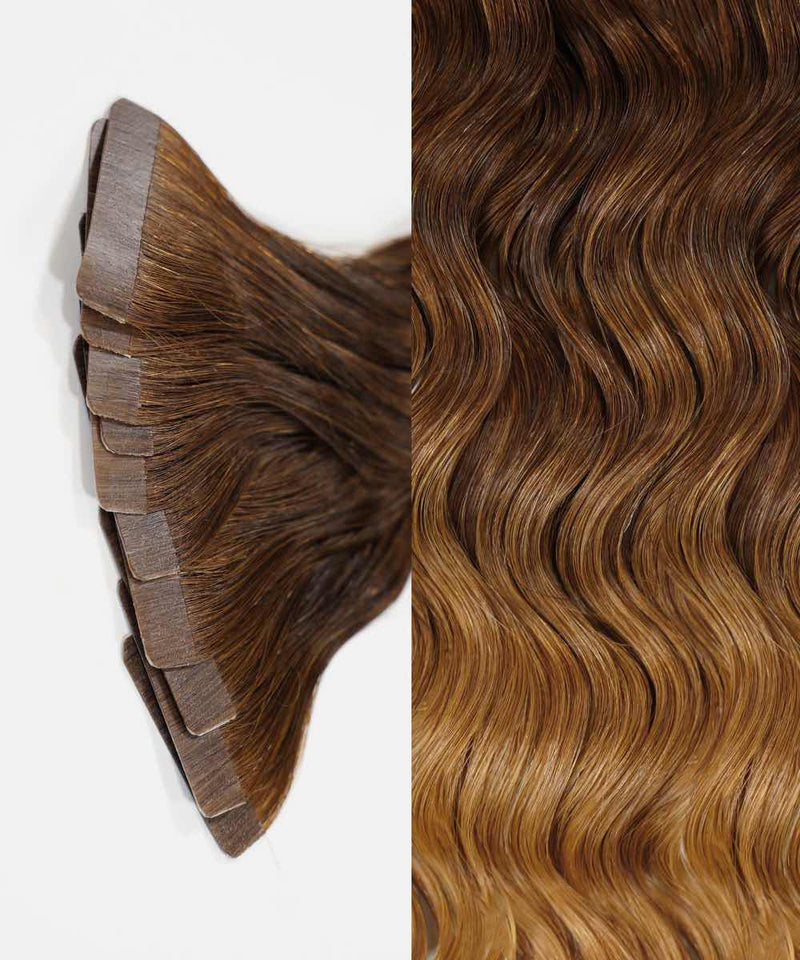
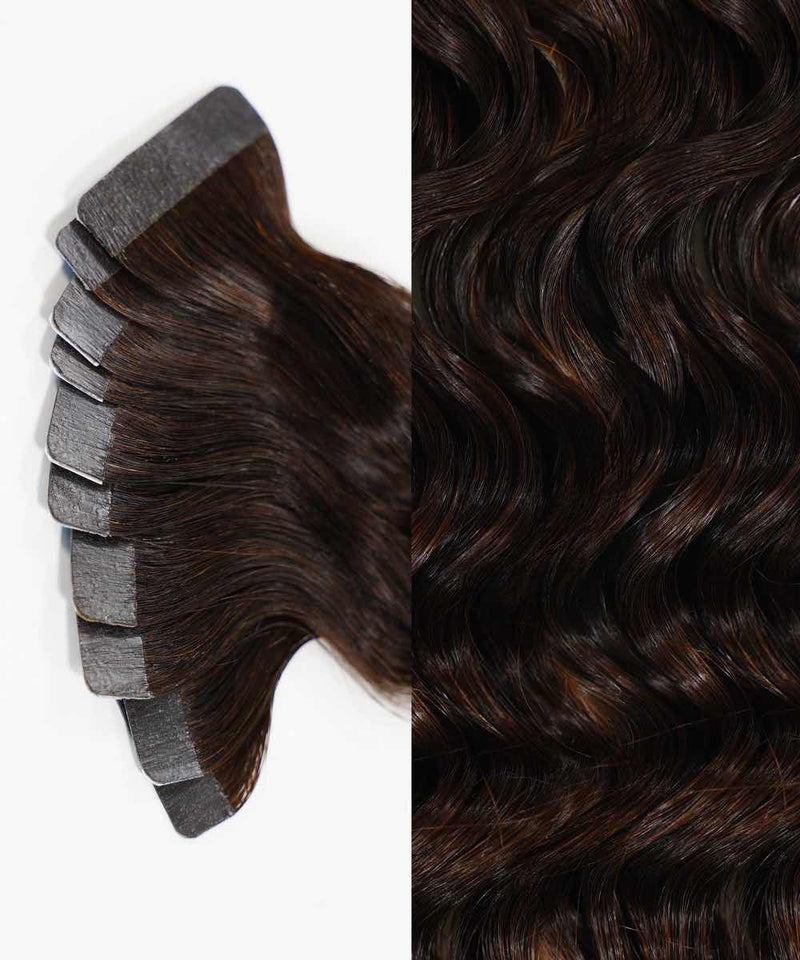
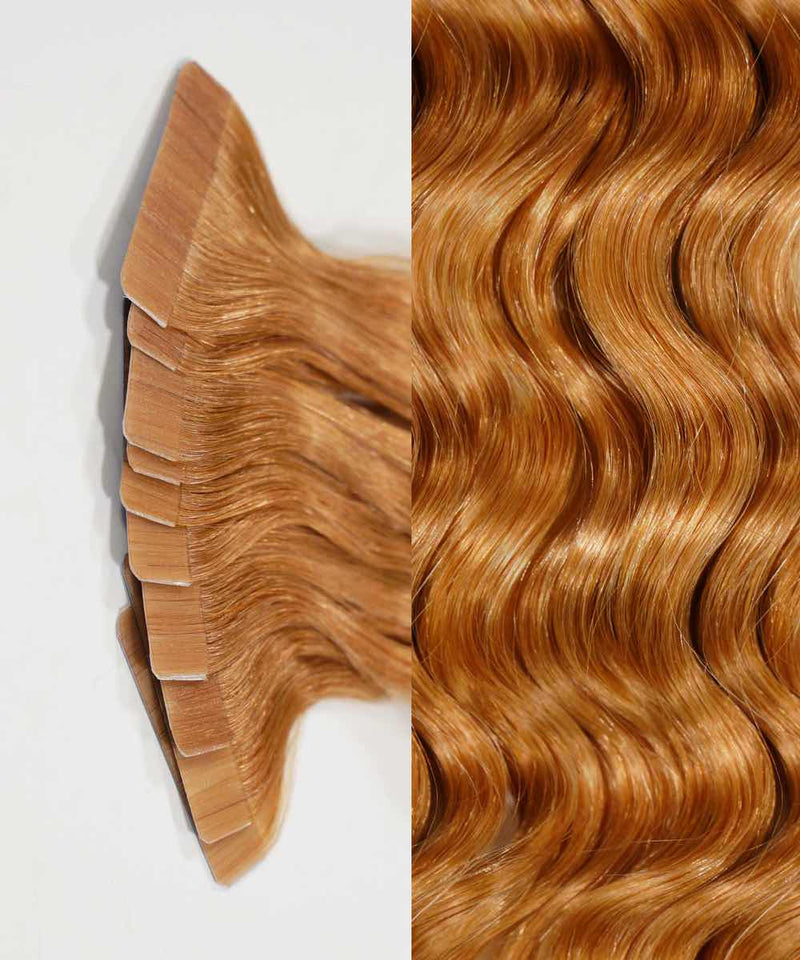
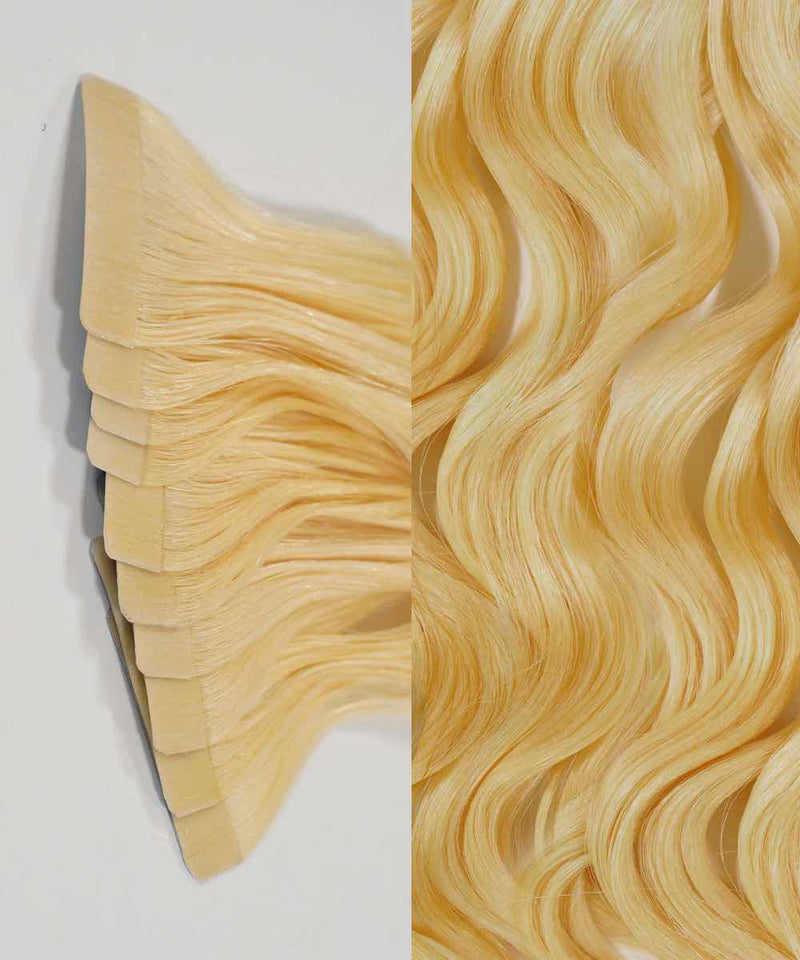
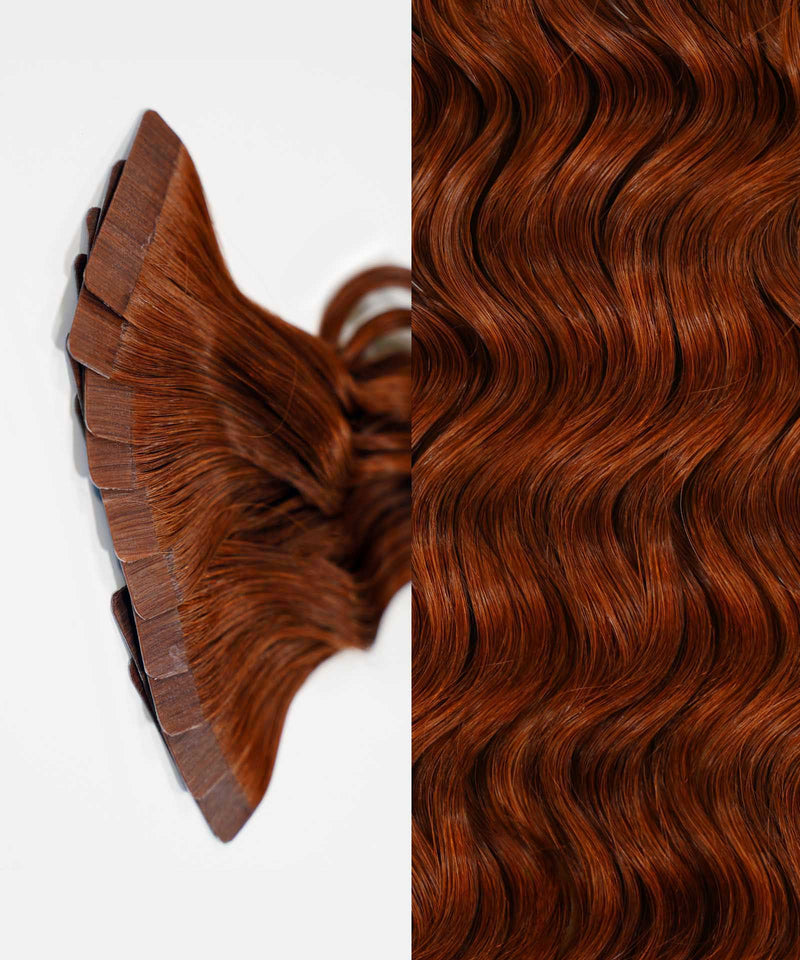
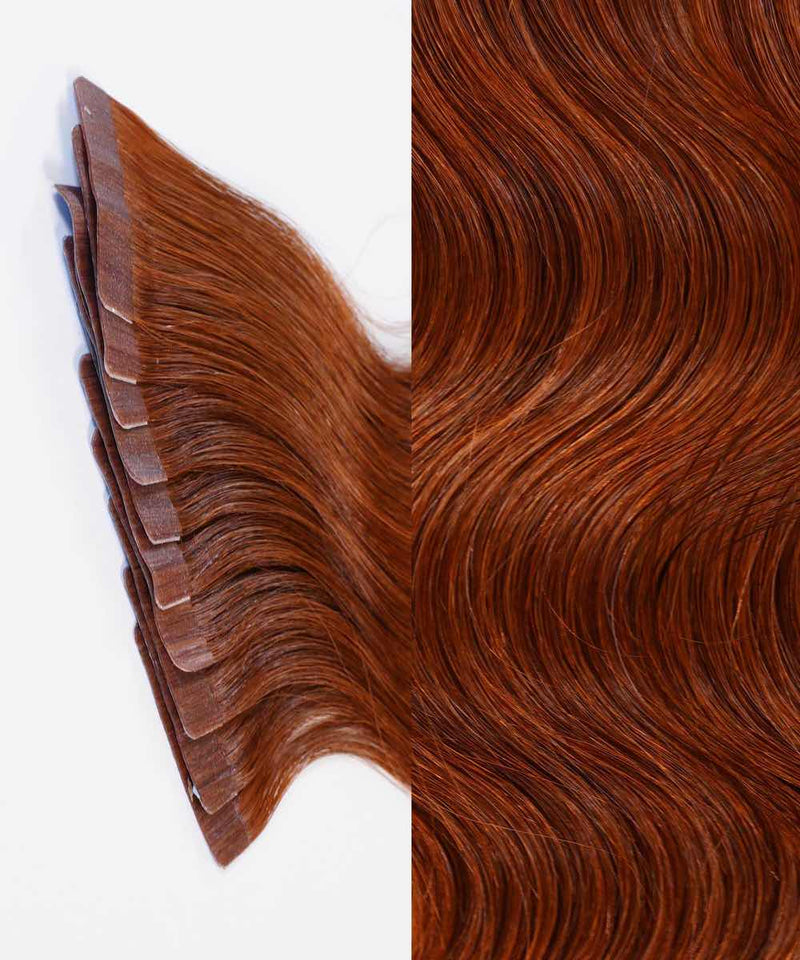
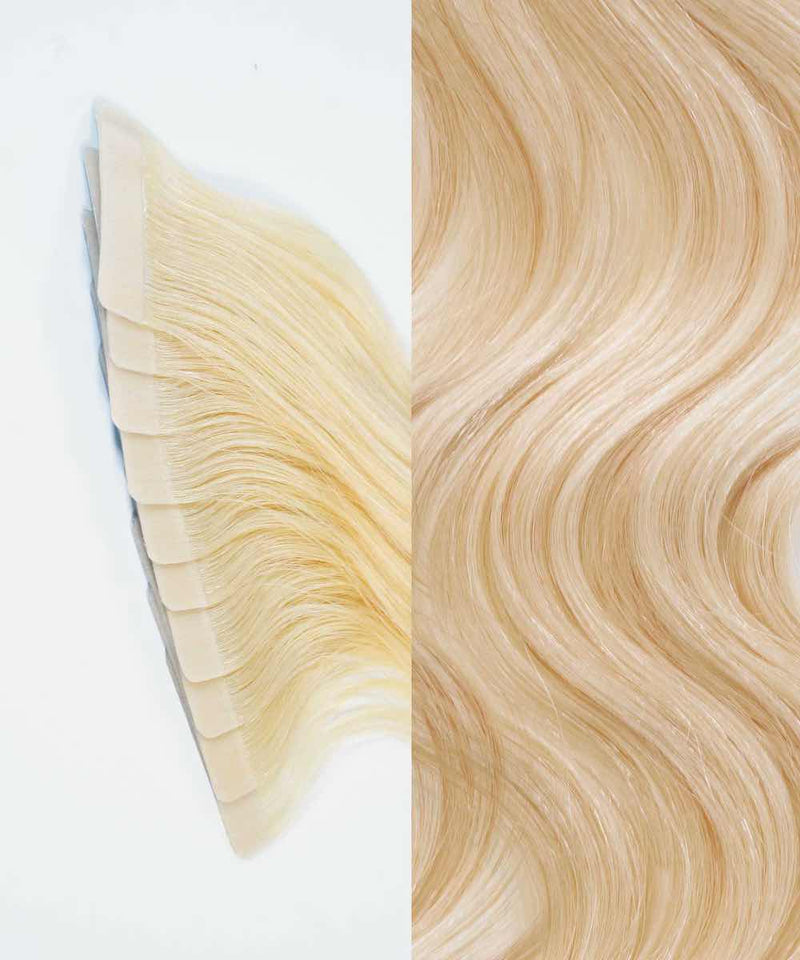
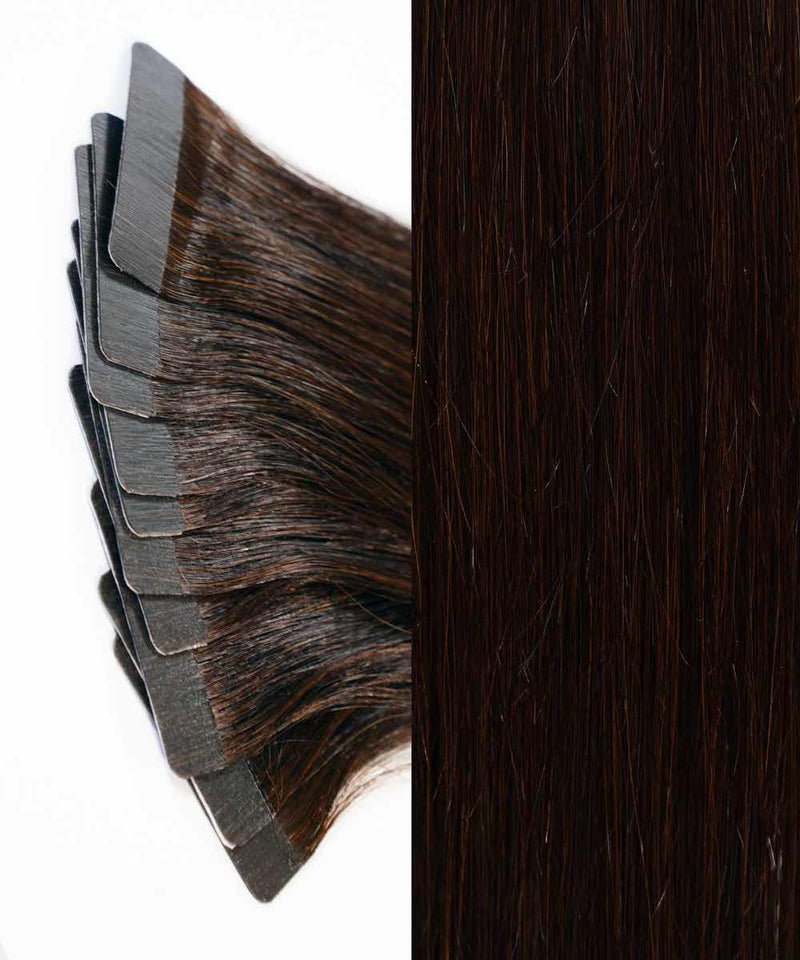
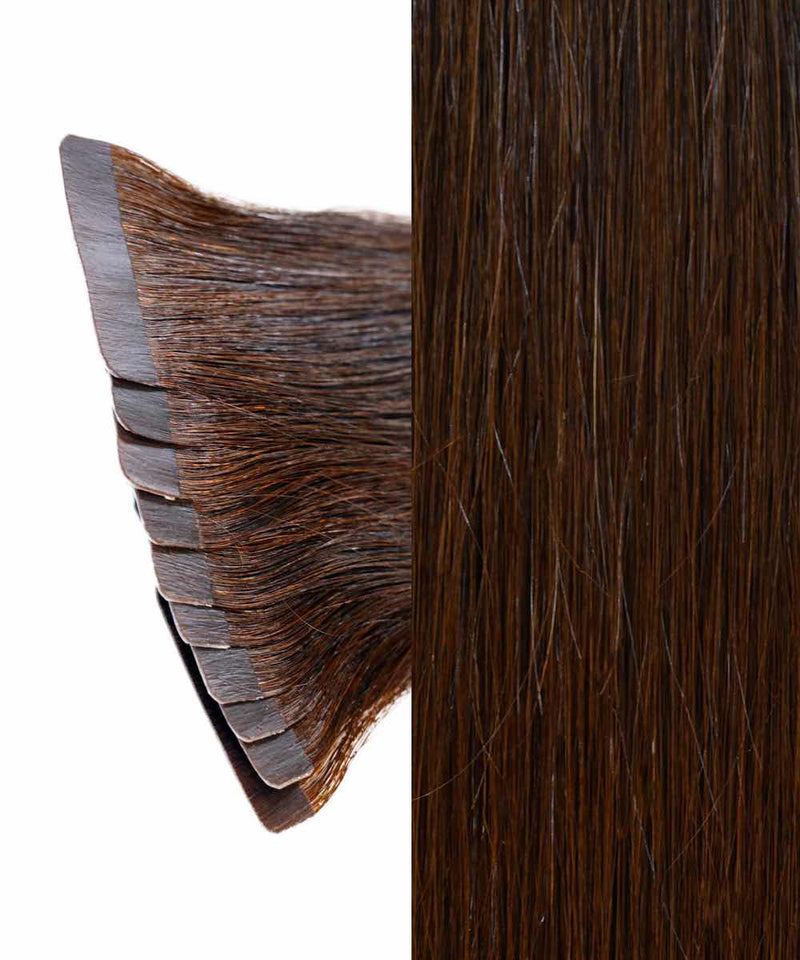
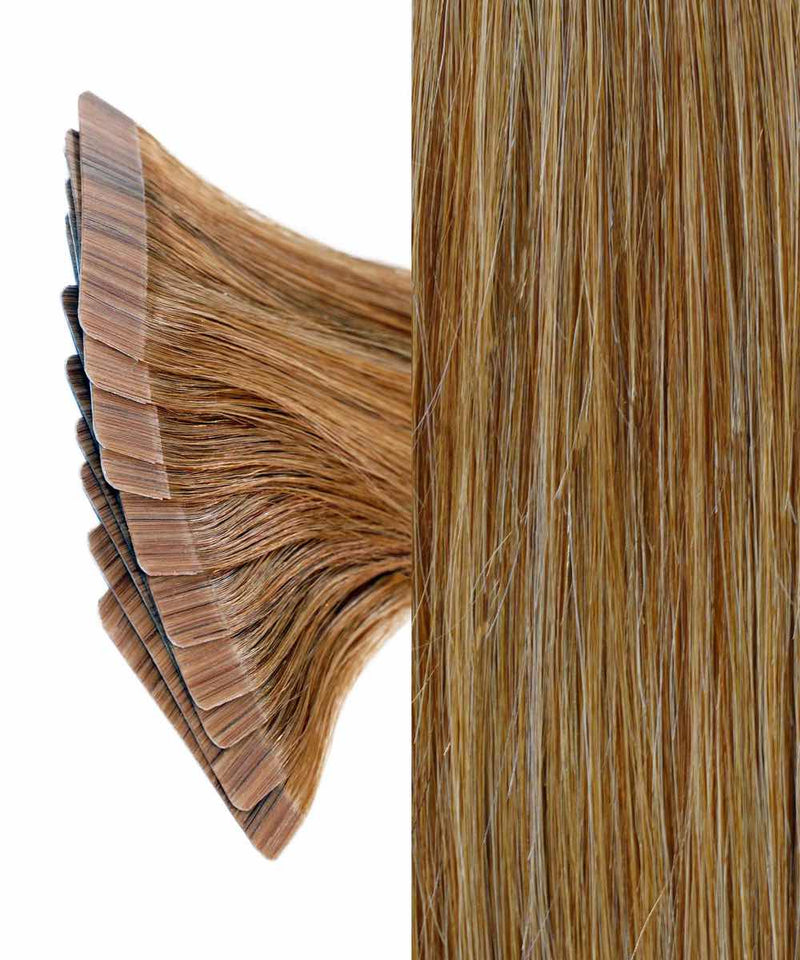
How to Remove Tape-In Hair Extensions
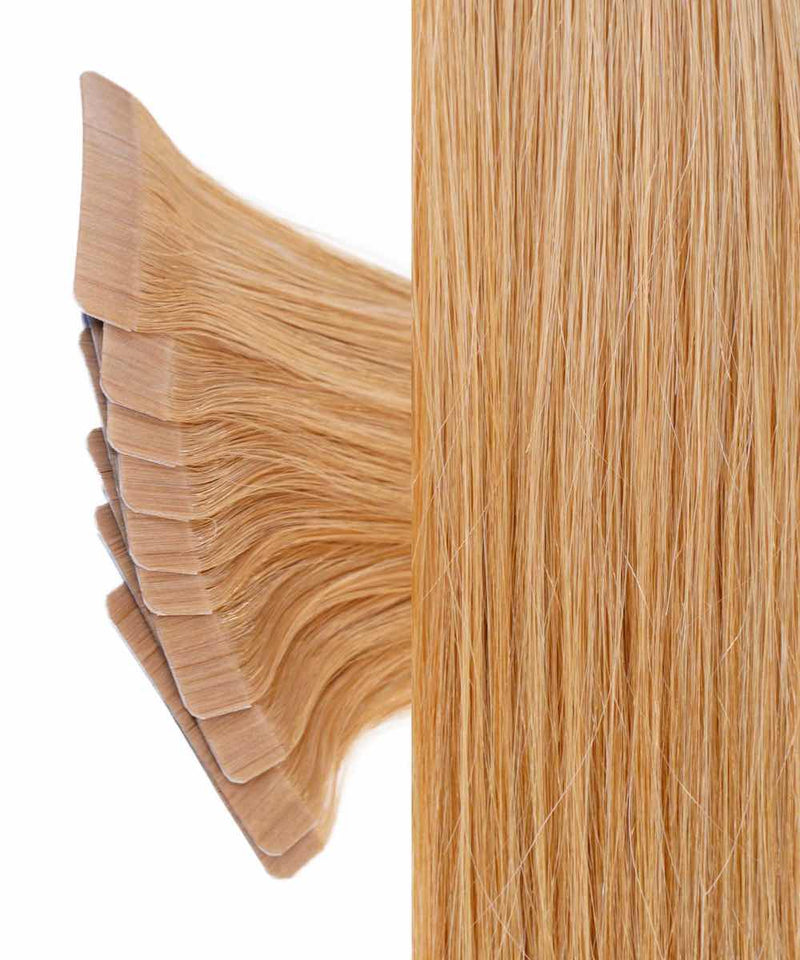
Tape-in removal is one of the most common things our customers ask us about, and it's one of the easiest to do at home once you understand how the bond works. The tape adhesive is designed to be released with an oil-based or alcohol-based remover - it's not meant to be pulled apart by force.
The full process takes about 30-60 minutes depending on how many wefts you have in. Our tape-in guide has more detail on why this method is one of our most popular - part of the reason is how clean and damage-free removal can be. We also have a dedicated step-by-step tape-in removal post if you want to go even deeper on this specific method. Browse our full tape-in extensions collection when you're ready to reinstall.
Section your hair and locate each bond
Start at the nape of your neck and work upward. Use a rat tail comb to expose each tape sandwich - you'll see two wefts stuck together with your natural hair in between. Clip the rest of your hair out of the way as you go.
Apply remover solution to the bond
Saturate the tape bond with your remover solution - apply it to both sides of the tape sandwich. Let it sit for 30-60 seconds. The remover breaks down the adhesive so the tape slides off rather than rips. Don't skip this step or rush it.
Gently slide the wefts apart
Once the remover has had time to work, hold the top weft and gently slide the bottom weft downward. It should release with minimal resistance. If it's pulling, apply more remover and wait another 30 seconds. Never force it.
Remove any remaining tape residue from your hair
There will likely be small bits of tape left on your natural hair. Apply a little more remover to those sections and gently work them out with your fingers or a fine-tooth comb. This step is important before shampooing.
Wash with clarifying shampoo
Once all bonds are removed, wash your hair with a clarifying shampoo to remove any remaining oil or adhesive residue. Follow with a deep conditioning treatment - your hair has been wearing weight for several weeks and will appreciate the extra moisture.
Clean the tape from your extension wefts
If you plan to reuse your tape-ins, peel the old tape backing off each weft while the remover is still active. Store them flat in a zip-lock bag. They can be re-taped and reinstalled at your next appointment - most wefts hold up for 2-3 reinstallations with proper care. Read our full post on how many times you can reuse tape-ins for more detail.
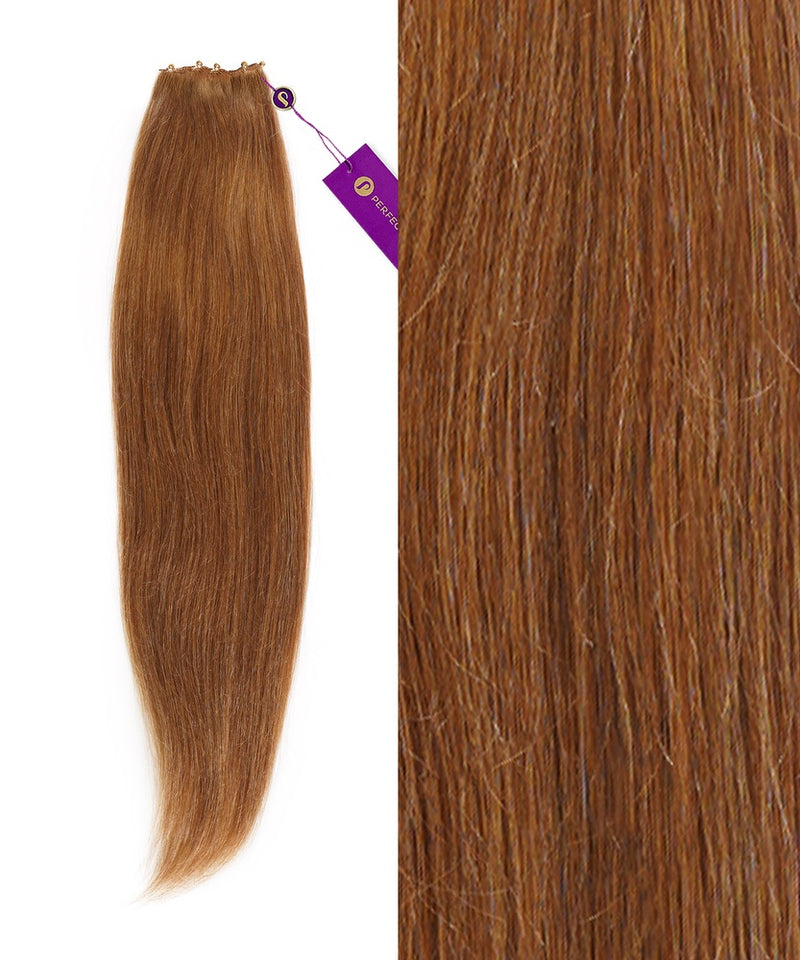
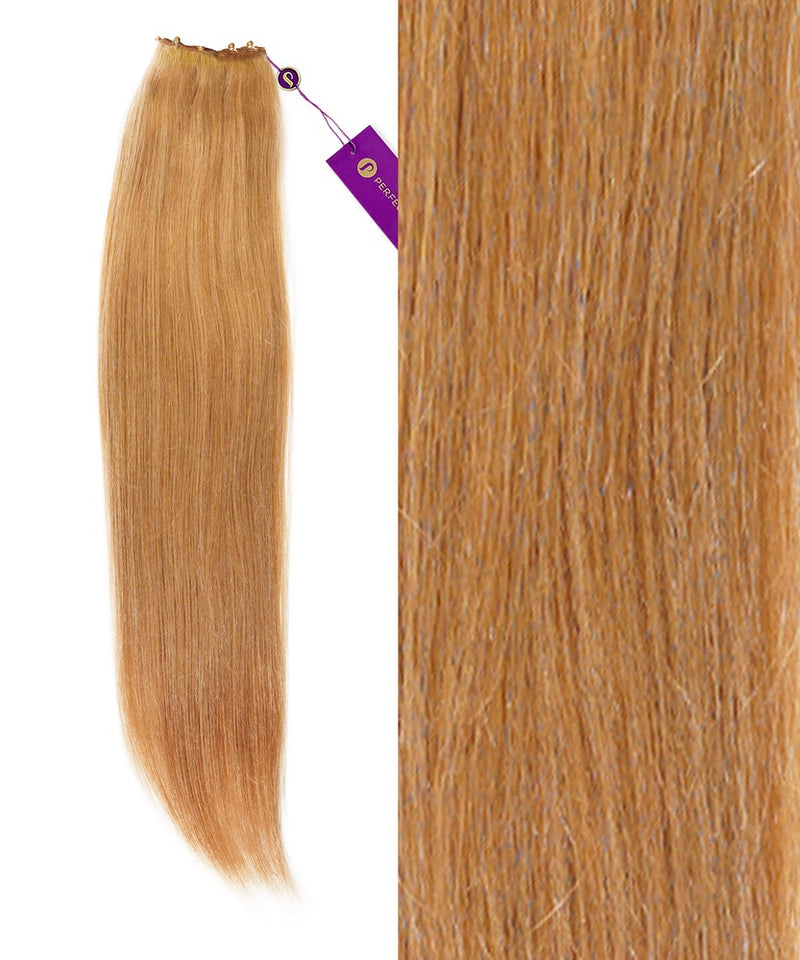
Tape In Hair Extensions
Wake up with gorgeous hair every morning. Our tape in hair extensions stay in for weeks, feel weightless, and look co...


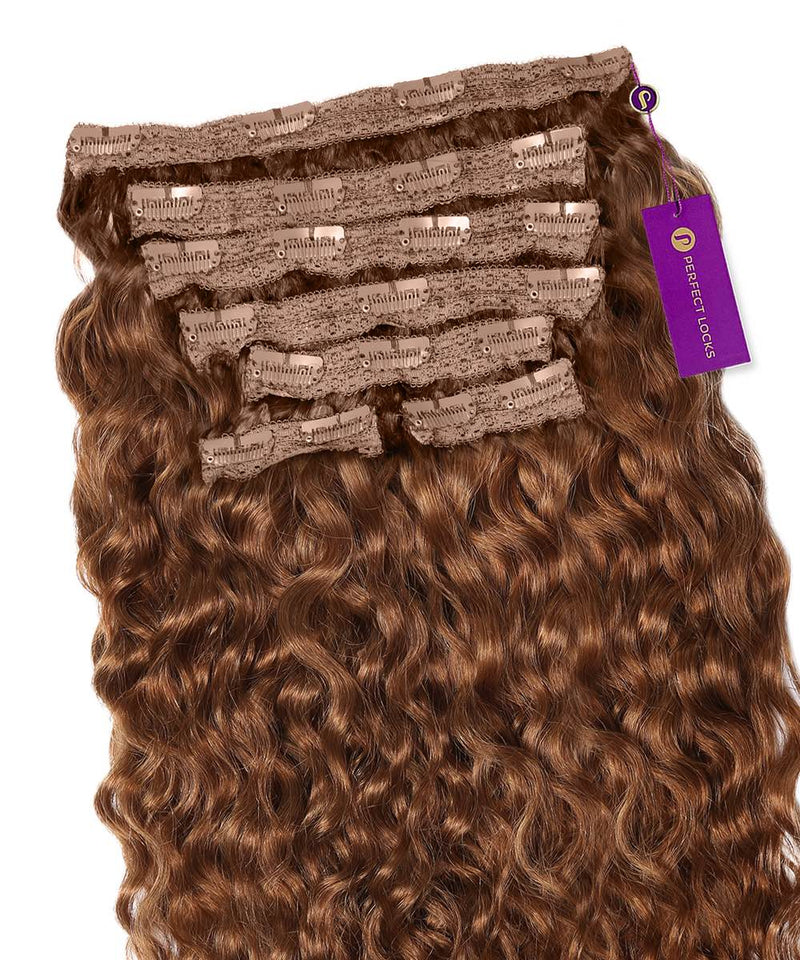
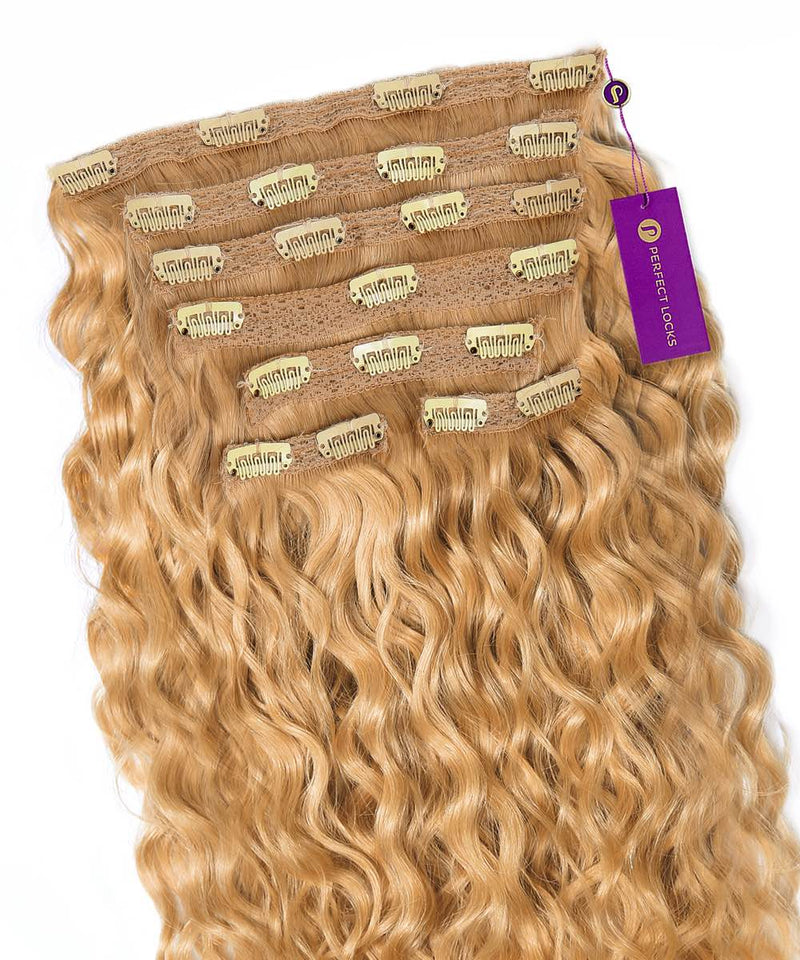
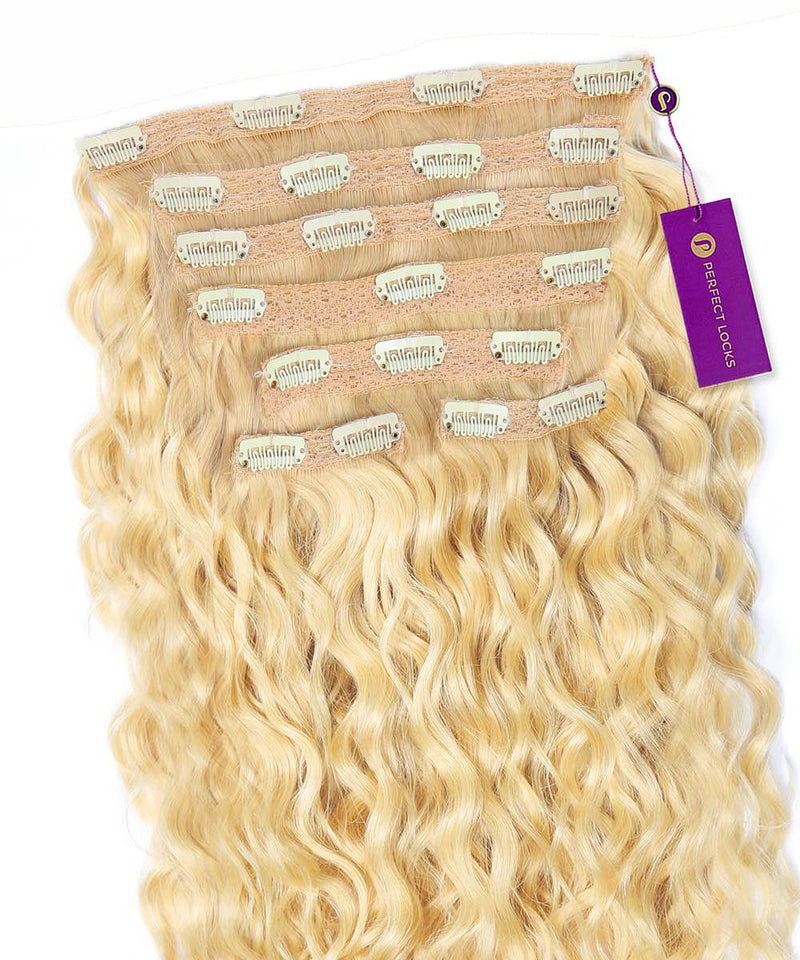
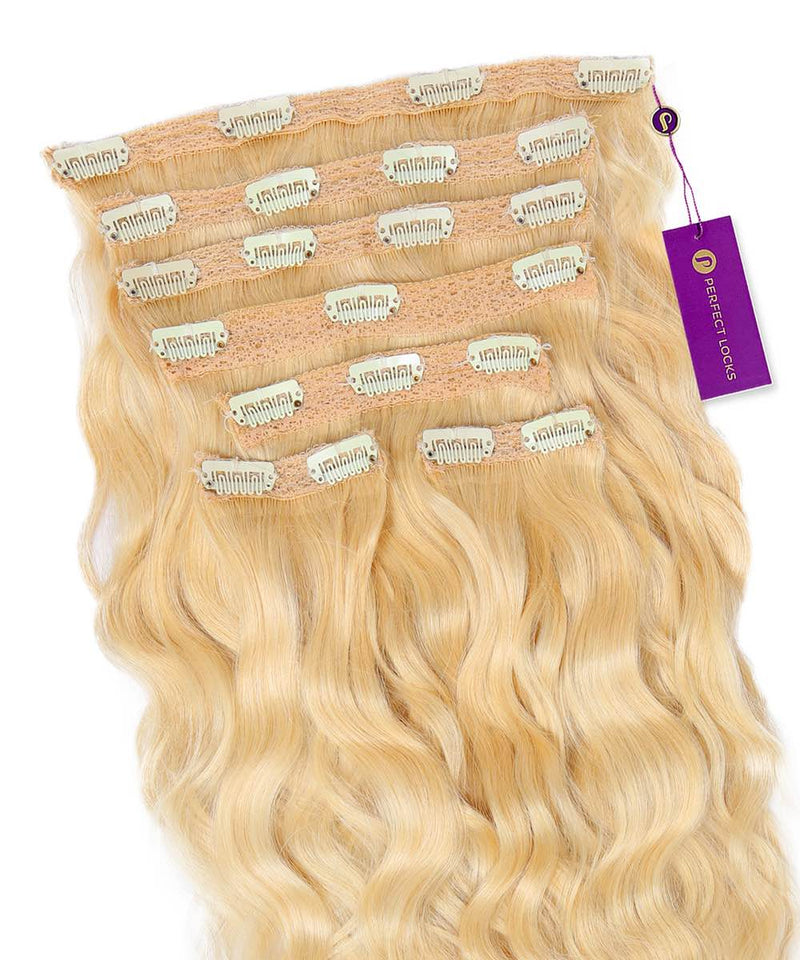
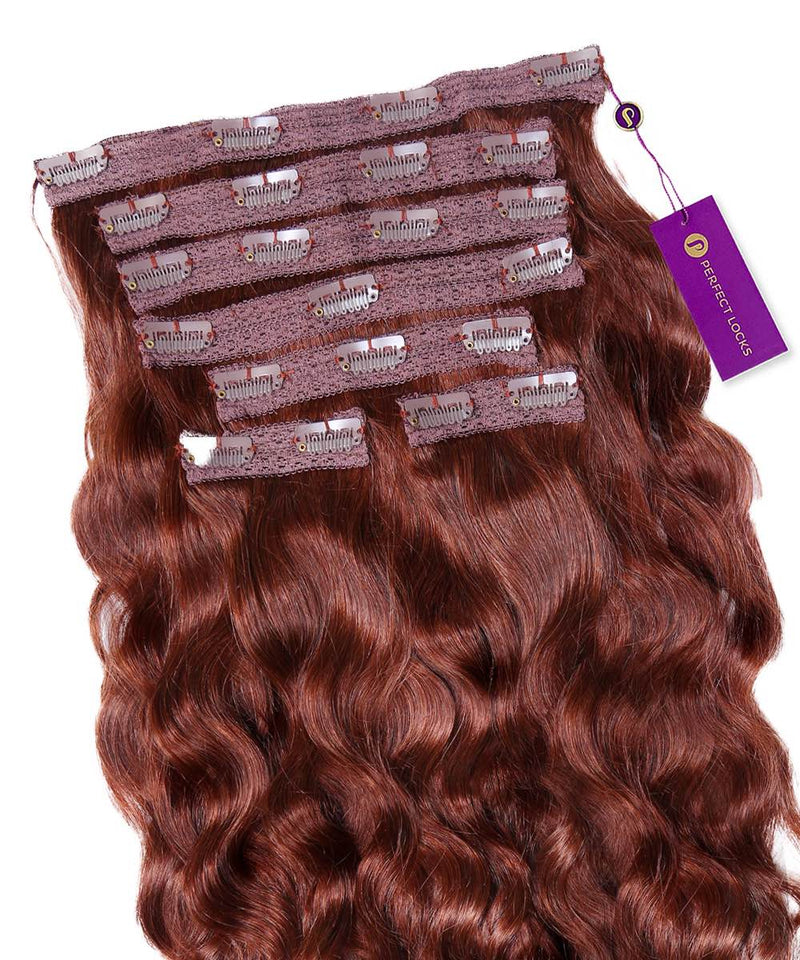
How to Remove Clip-In Extensions
This is genuinely the easiest removal in the entire category. Clip-in extensions are designed to go on and come off in minutes - it's one of the main reasons they're perfect for people who are new to extensions or want flexibility. Browse our full clip-in collection, including our popular seamless clip-ins which are especially gentle on fine hair.
Start from the top and work down
Begin with the topmost weft and work your way down to the nape. This prevents lower wefts from getting tangled with upper ones as you remove them.
Press the clip open and slide out
Pinch the clip with your thumb and forefinger to snap it open, then slide the weft horizontally out of your hair. No pulling, no tugging - just open and slide.
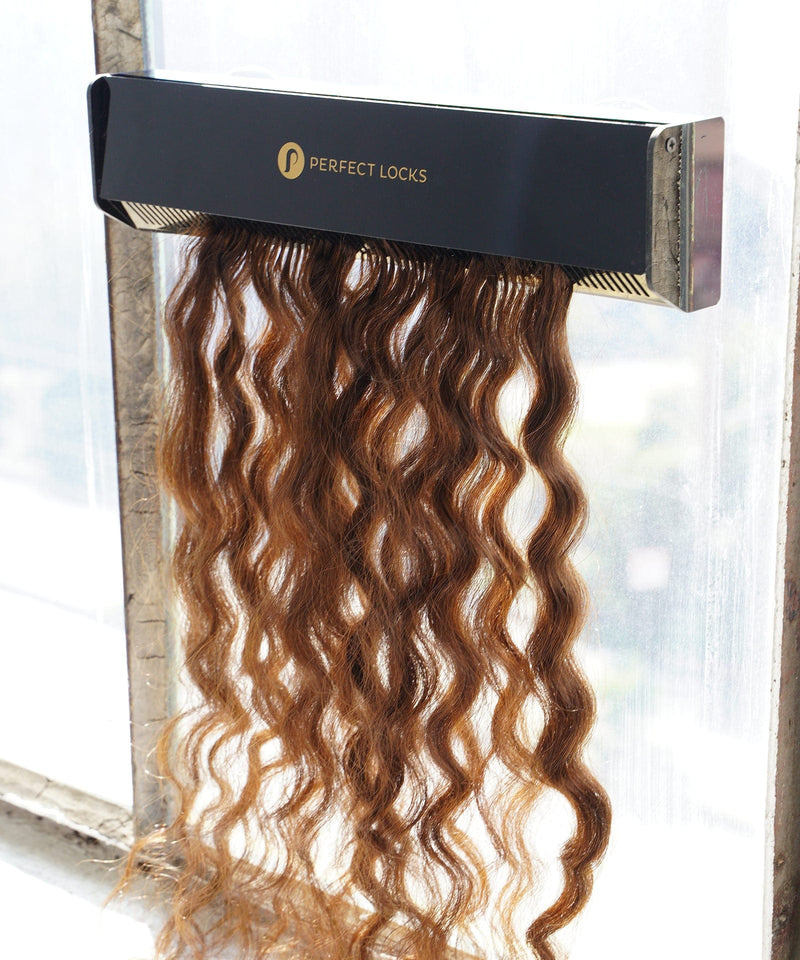
Brush gently and store flat
Before storing, brush each weft from ends to roots with a soft bristle brush to remove any tangles. Store your wefts flat in a box or on a hanger - avoid cramming them into a bag where they'll tangle. Well-stored clip-ins can last 1-2 years with regular use.
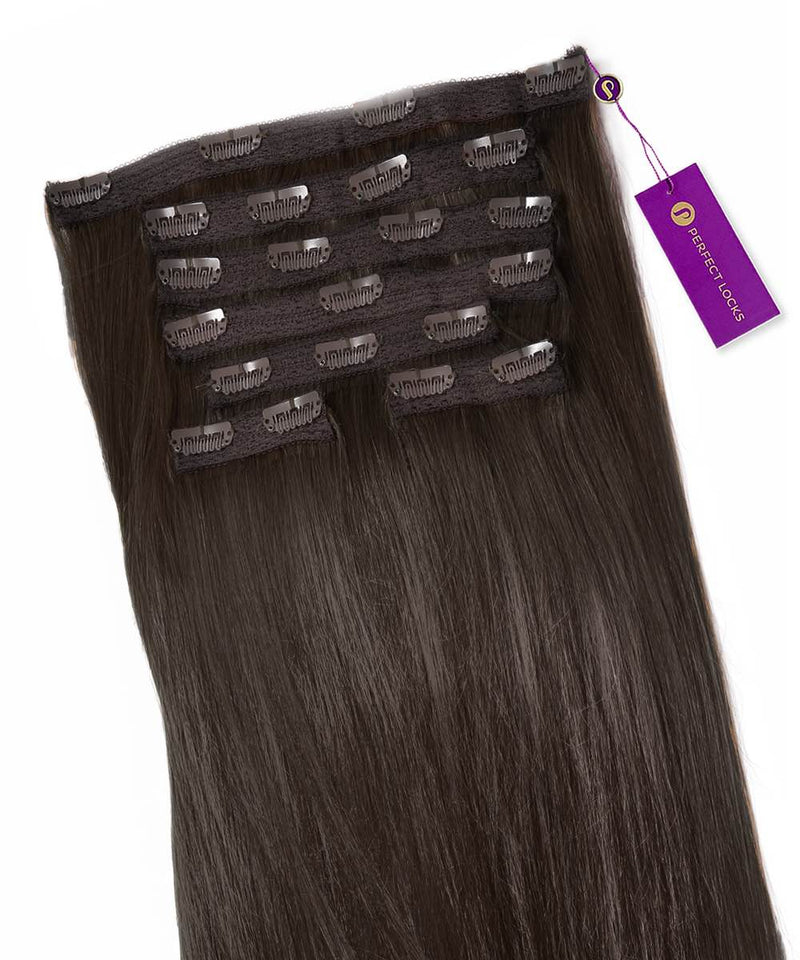
Clip-In Hair Extensions
Your hair, but the version you've always wanted. Clip-in hair extensions snap in for instant length and volume and co...


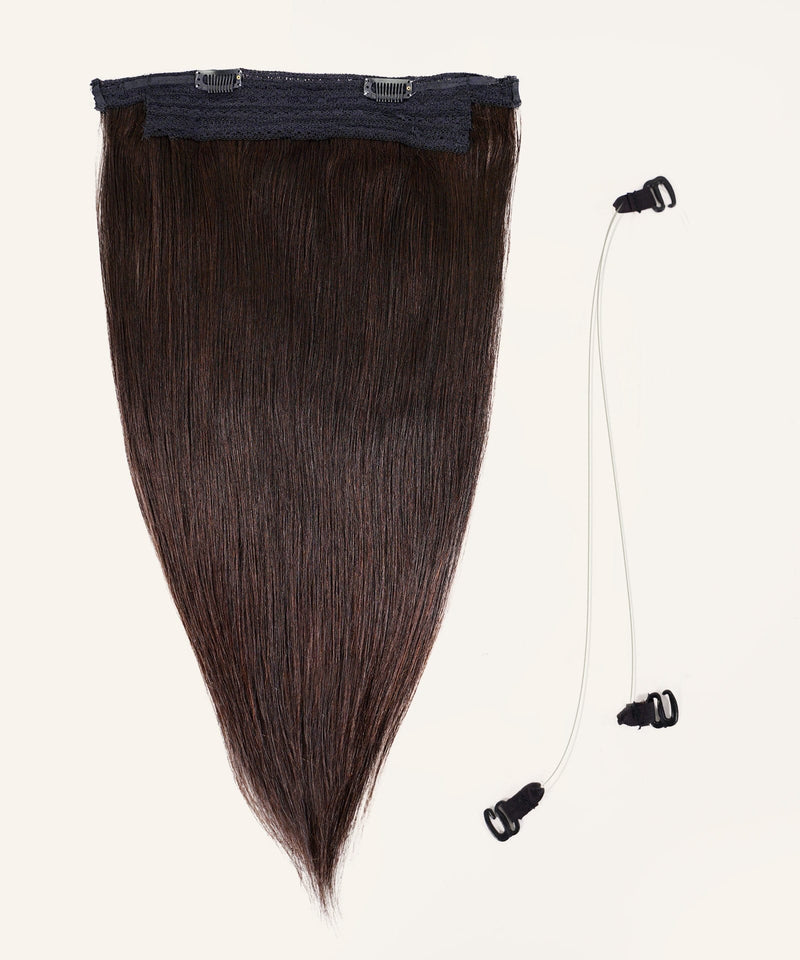
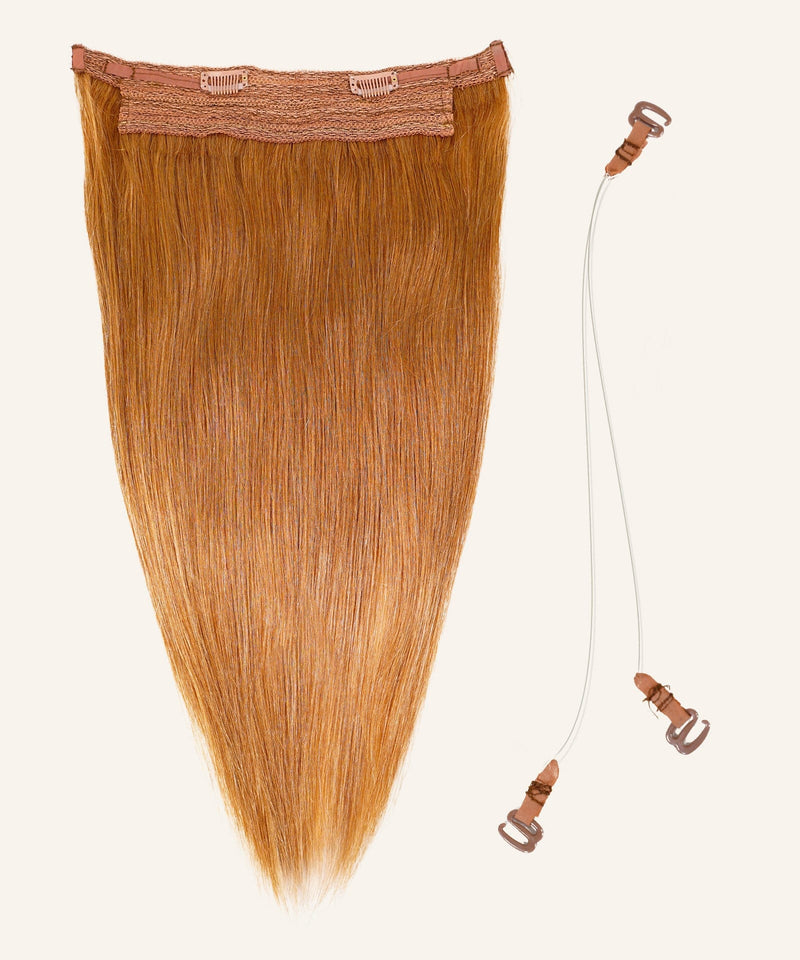
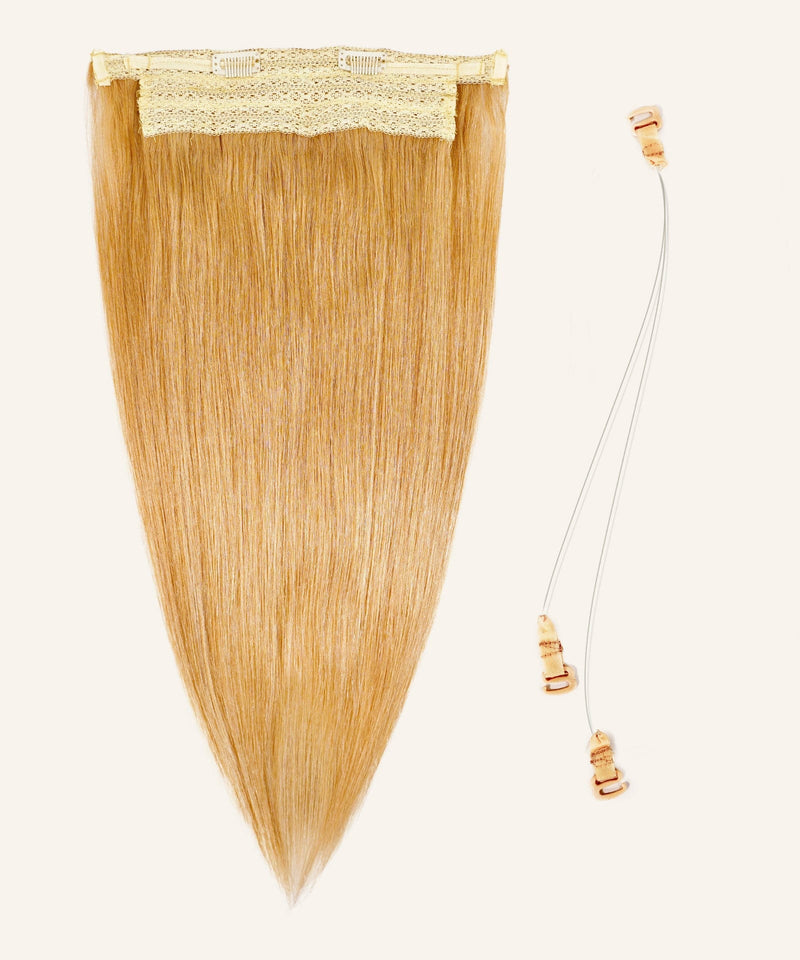
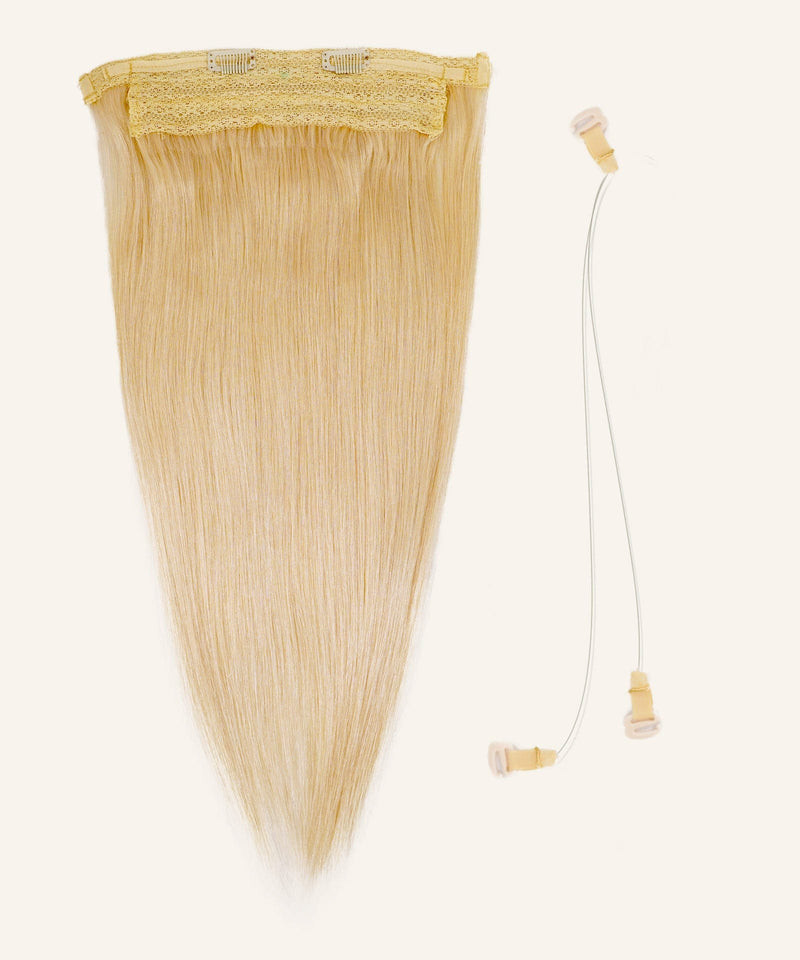
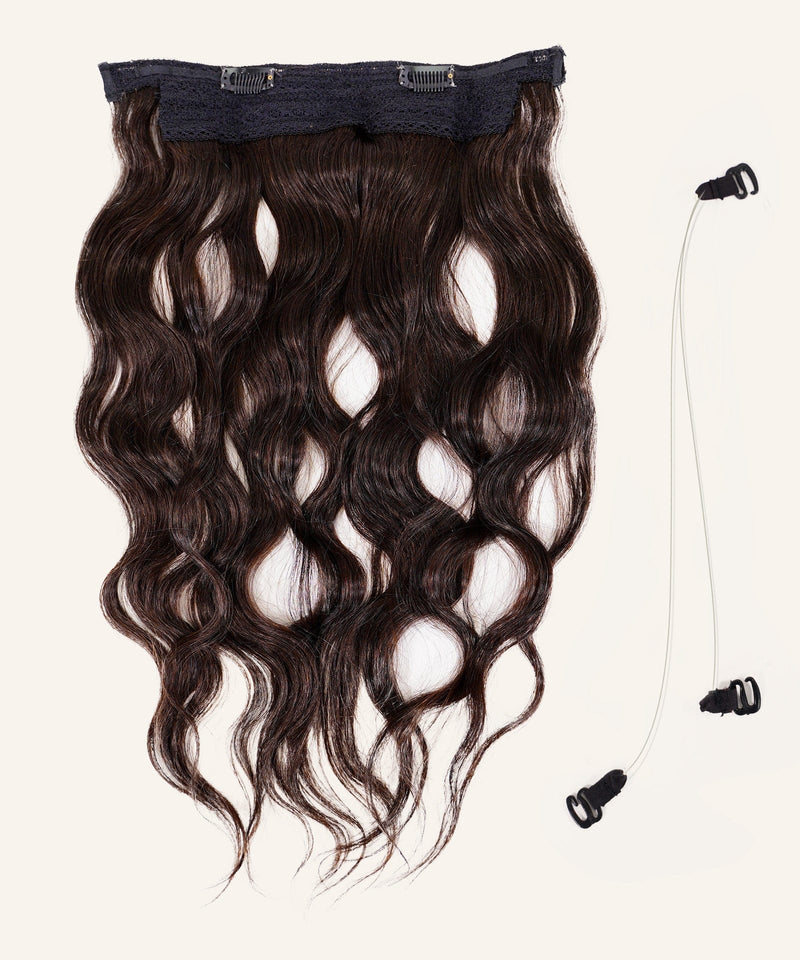
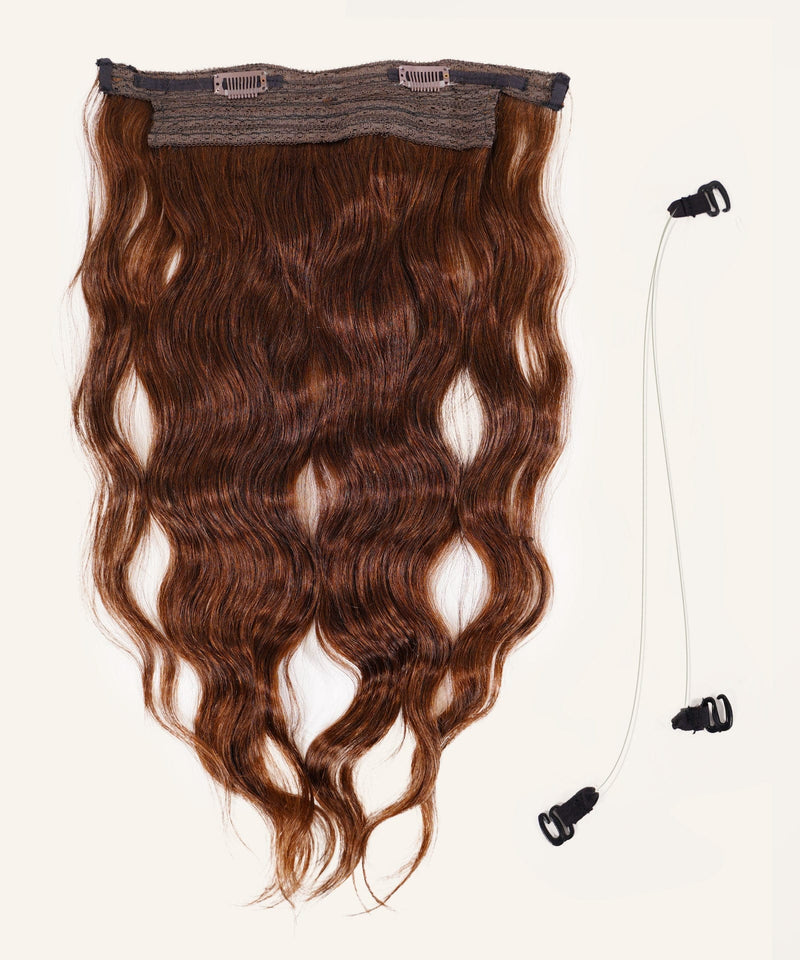
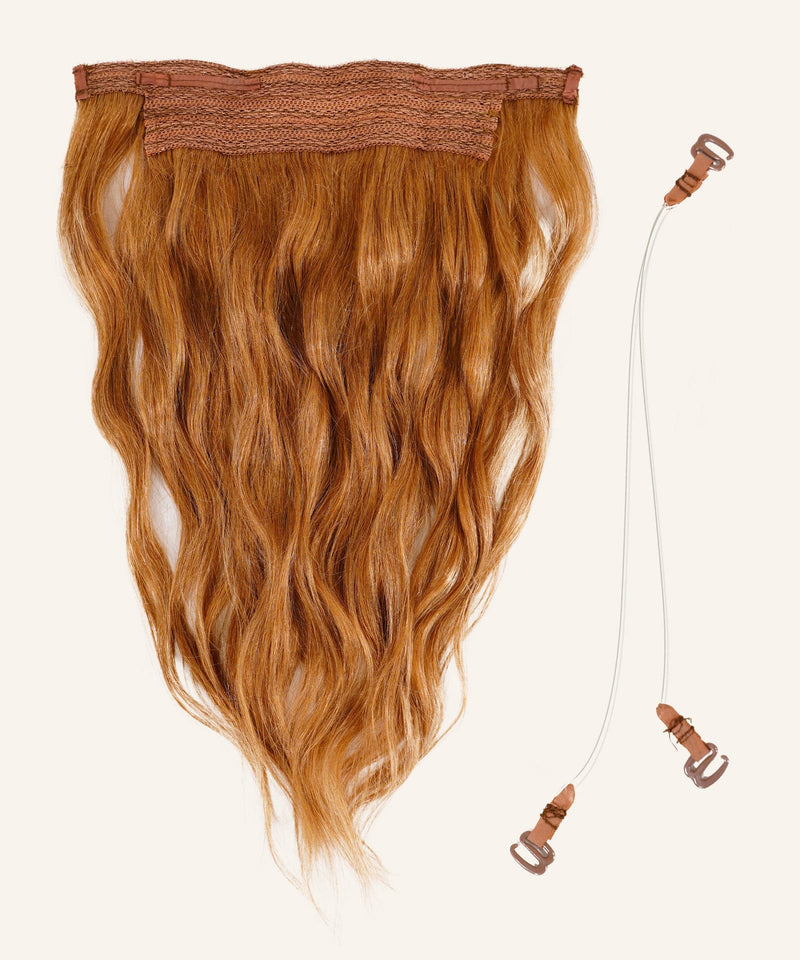
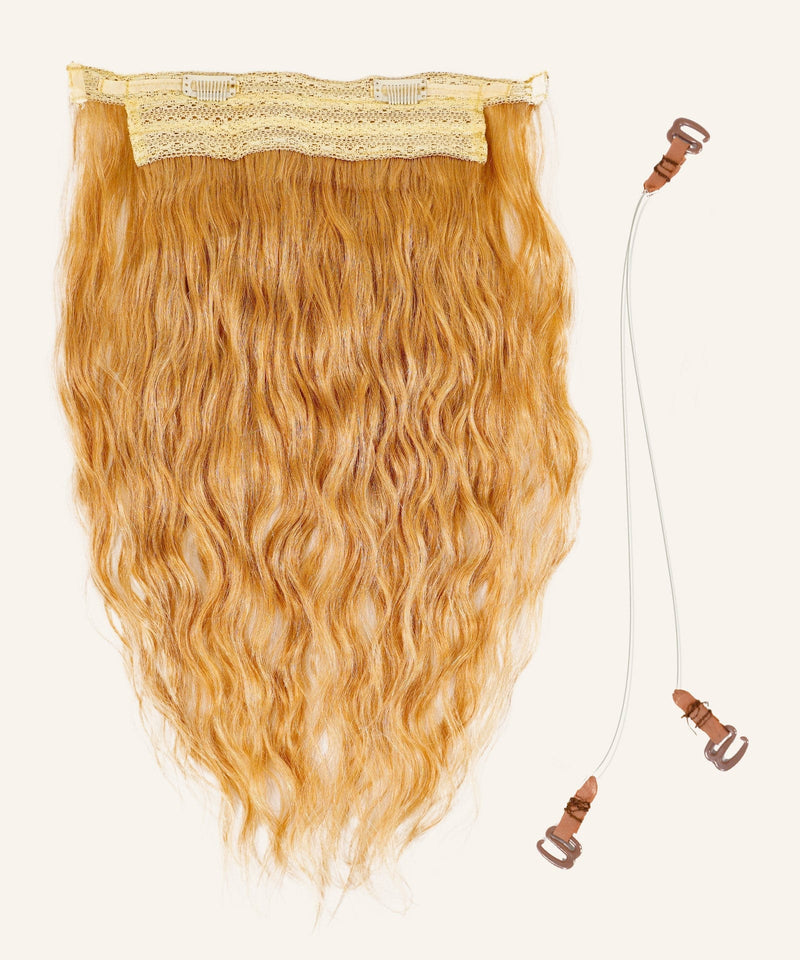
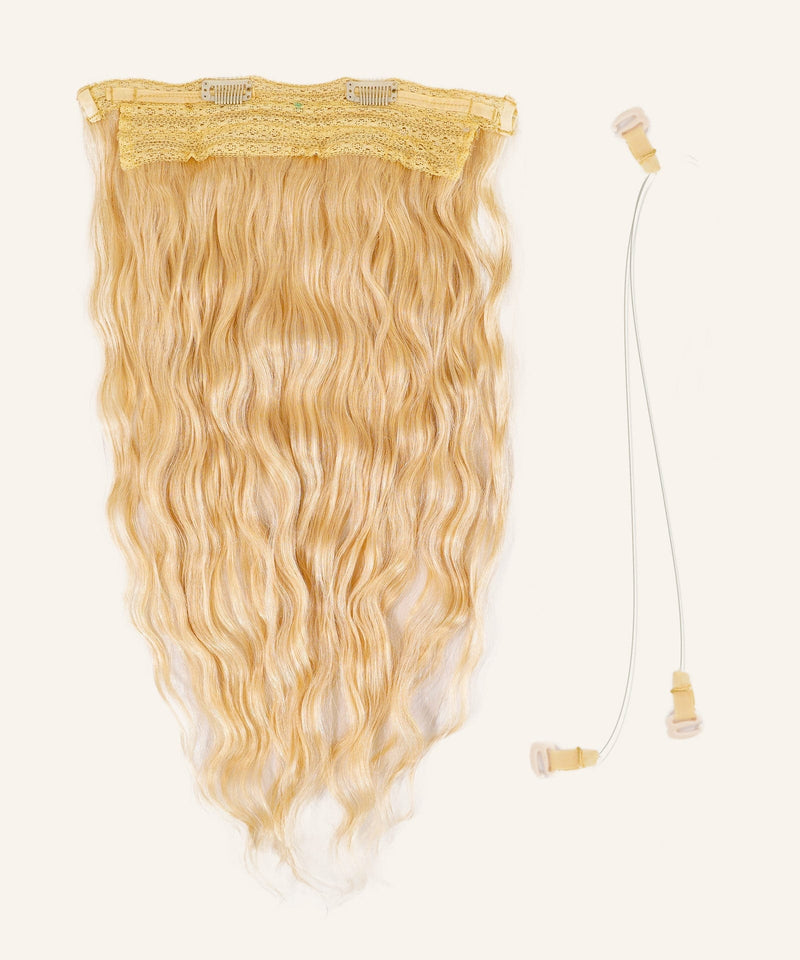
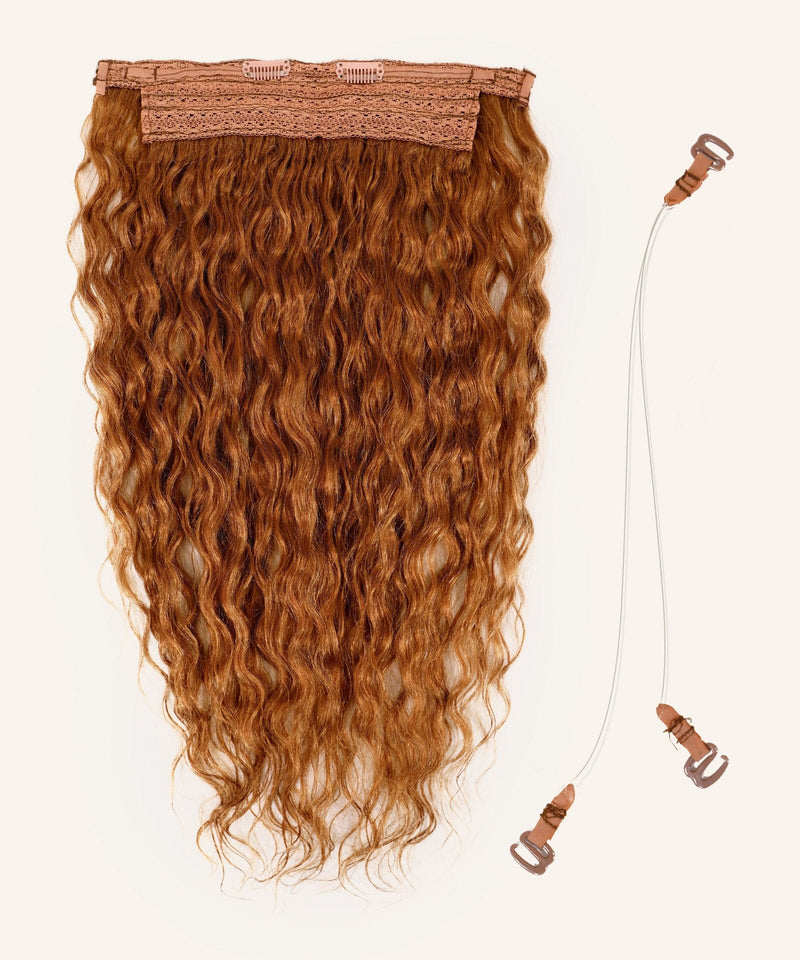
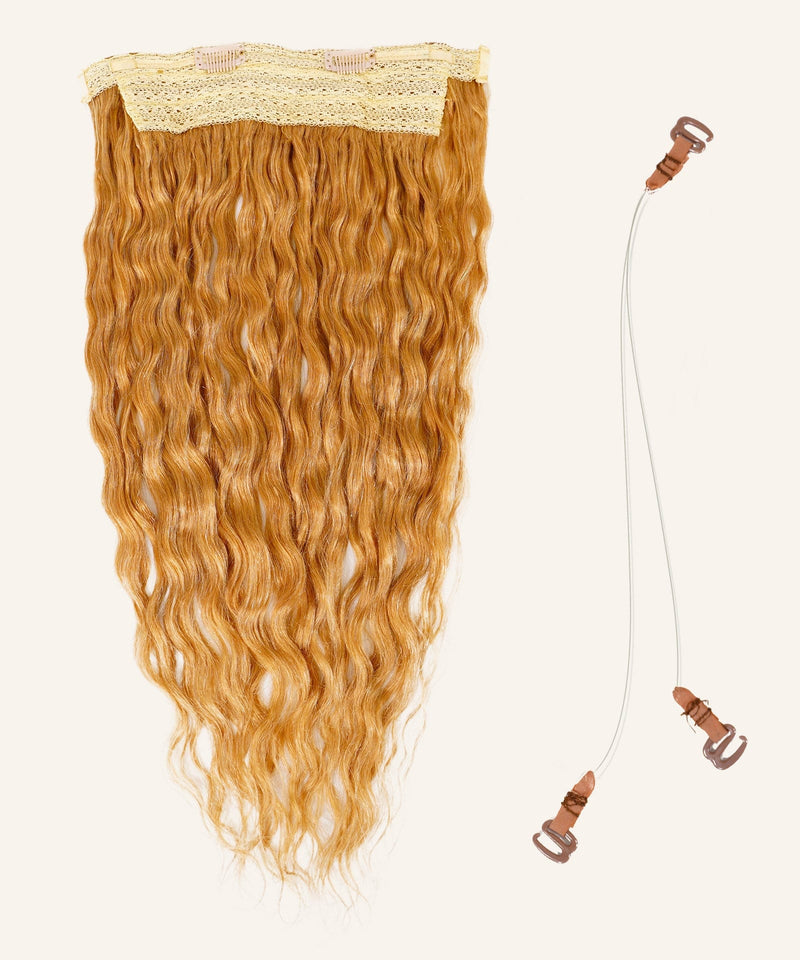
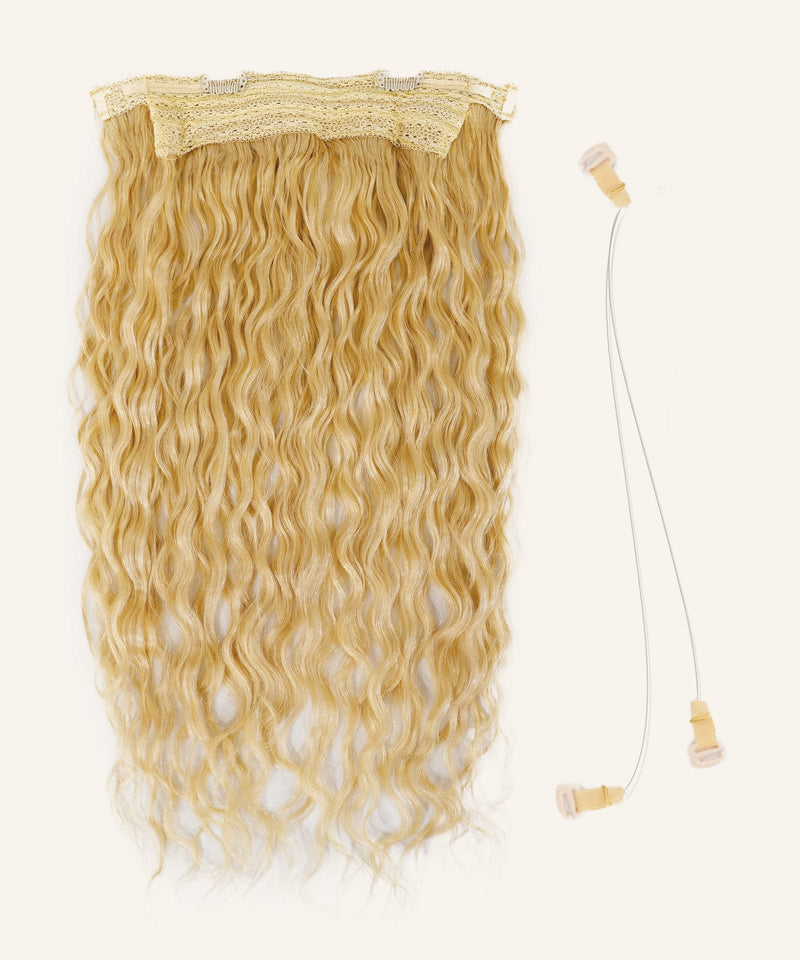
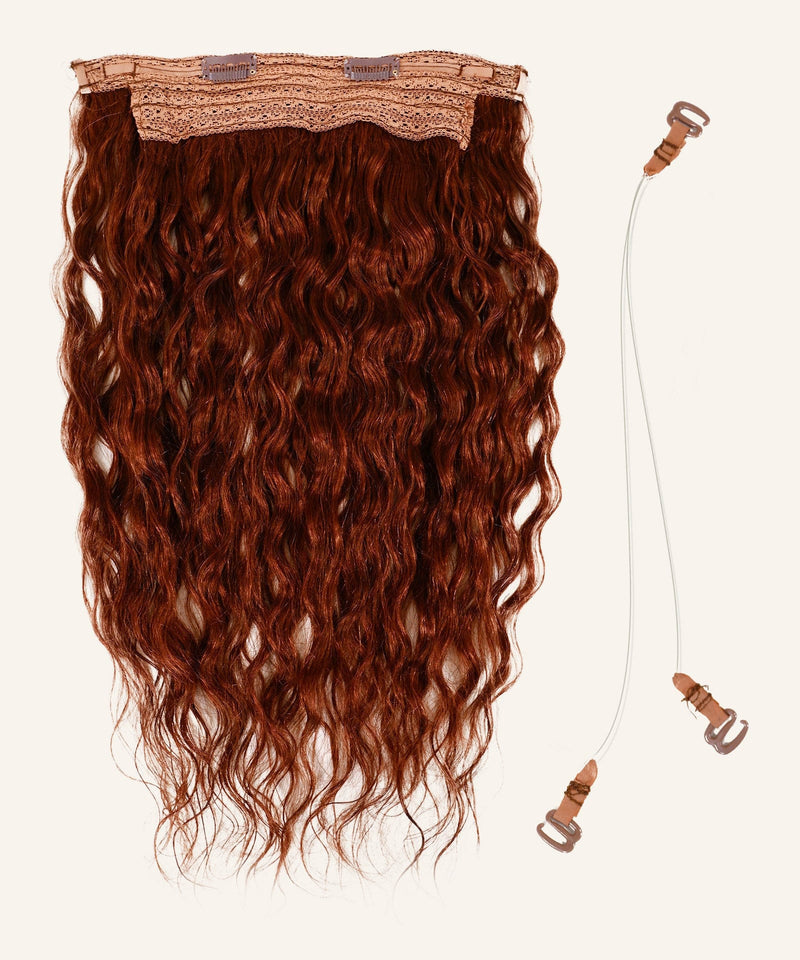
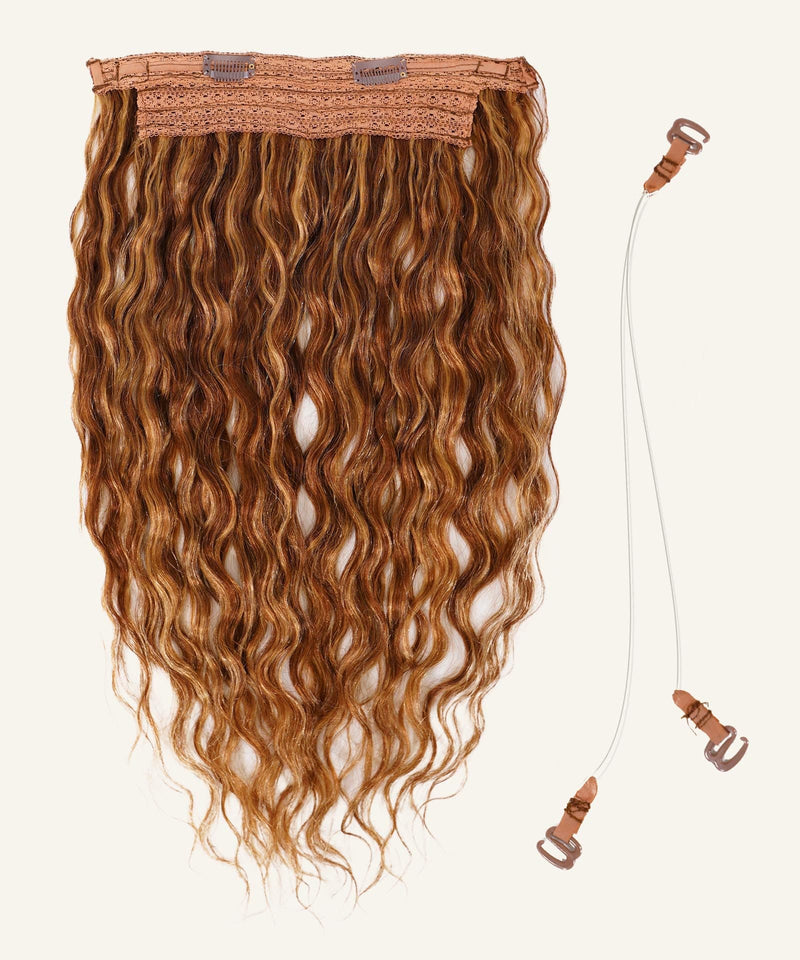
How to Remove a Halo Extension
Halo removal is even simpler than clip-ins. Because there's no attachment to your natural hair at all - just a wire that sits on top - there's genuinely nothing that can go wrong here. This is one of the reasons we love the halo method for first-timers and for people with fine or fragile hair. If that's you, our thin hair extensions guide walks through why halos are often the safest starting point.
Lift your natural hair away from the wire
Use your fingers to gently part your natural hair back from the wire. You'll feel the wire just below the crown area.
Lift the halo straight up and off
Hold the wire at two points and lift straight up. The whole piece comes off in one motion. That's it.
Store flat to protect the wire
The wire is the most important thing to protect during storage. Keep it in the original box or a soft-lined storage container. Avoid hanging it by the wire or folding it - over time, a bent wire won't sit correctly on your head.
Halo Hair Extensions
The easiest transformation in hair extensions - literally seconds to put on, seconds to take off, zero damage. Our Pe...


How to Remove Fusion and Keratin Bond Extensions
We'll be straightforward with you: fusion extension removal is the one method where we strongly recommend going to a professional, especially if it's your first time. The bonds are small, they sit close to your scalp, and the tools involved require a steady hand. Done correctly, fusion removal causes zero damage. Done incorrectly, it can cause breakage at the root. Use our Pro Stylist Locator to find a Perfect Locks-certified extensionist in your area.
That said, here's what the process looks like so you understand what your stylist is doing - and can spot if something seems off. You'll need a dedicated keratin bond remover - never substitute acetone nail polish remover (more on that below).
Apply keratin bond remover to each bond
The remover is applied directly to the keratin or glue bond (not the hair). This softens the bond so it can be broken apart without force. Let it sit for the time indicated on your specific product - usually 30-60 seconds.
Break the bond with flat-nose pliers
A professional removal tool is pressed against the softened bond and squeezed to crack it open. The pressure is applied to the bond only, not the hair strand. This is where professional technique matters most.
Slide the extension strand down and out
Once the bond is broken open, the strand should slide out of your natural hair with minimal resistance. If it's not sliding easily, more remover is needed - not more force.
Remove residue from natural hair
After all bonds are removed, small amounts of keratin residue will remain on your hair strands. These are worked out with remover and a fine-tooth comb before washing.
Deep condition and give your hair a rest
Fusion extensions are typically worn for 3-4 months. After removal, treat your hair to a deep conditioning mask and, if possible, give it a week or two before reinstalling. Your scalp and strands will thank you.
How to Remove Beaded Weft and I-Tip Extensions
Beaded weft and I-tip (micro-bead) extensions use small metal beads or rings to attach to your natural hair. Removal involves opening or flattening those beads with the correct pliers - no chemicals needed, which is one reason many people love these methods. Browse our beaded weft extensions if you're considering this method next.
We recommend having a stylist do the first removal if you're unfamiliar with the technique, but many experienced wearers do this themselves comfortably at home after their first appointment.
Section hair to expose each bead
Use a rat tail comb to locate and expose each individual bead or ring. Work in horizontal sections from the nape upward.
Position pliers on the bead and squeeze
Place your flat-nose removal pliers around the bead - not the hair - and apply firm, even pressure to open (flatten) the bead. You'll feel it release. For I-tips, the same motion opens the micro-ring.
Slide the extension strand or weft out
Once the bead is open, the extension should slide out easily. If there's any resistance, re-squeeze the bead to ensure it's fully open.
Remove beads from your natural hair
Use your fingers or the comb to slide any remaining beads off your hair strands. Do this gently - the bead slides off the end of the hair, it doesn't pull through it.
Beaded Weft Hair Extensions
No heat, no glue, no adhesive of any kind - just tiny silicone-lined beads for a hold that's gentle on your natural h...


How to Remove Hand-Tied and Machine Weft Extensions
Hand-tied wefts and machine wefts installed as sew-ins sit on a braided or beaded anchor base, with the weft sewn down using thread. Removal means cutting the thread - not the hair, not the weft. Done carefully, this is a clean and damage-free process. We recommend having a stylist perform your first sew-in removal, particularly for hand-tied wefts where the thread can be very fine and sit close to the scalp.
Locate and expose the anchor row
Use a rat tail comb to part your hair and expose the weft row. You'll see thread running along the top of the weft where it's been sewn to the braid or bead track beneath it. Work from the nape upward, one row at a time.
Carefully cut the thread
Using small scissors or a seam ripper, slide the blade under the thread - not the weft or your natural hair - and cut. Work along the weft in small sections rather than trying to cut the whole row at once. Keep the blade angled away from your scalp at all times.
Lift the weft away from the anchor
Once the thread is cut along the full weft, it will lift away cleanly. For beaded anchor rows, any remaining beads are then opened with pliers the same way as in the beaded weft method above.
Release the braid base
Once all wefts are removed, gently unbraid or unravel the anchor braids with your fingers. Apply detangling spray before working through any shed hair that's collected in the braid - this is normal and doesn't mean your hair has been damaged.
Detangle thoroughly before washing
Work through your natural hair section by section with a wide-tooth comb and detangling spray before shampooing. Your hair has been braided for several weeks - taking time here prevents unnecessary breakage in the wash.
How to Remove Hand-Tied Wefts at Home
Caring for Your Hair After Removal
Regardless of which method you're removing, your hair has spent weeks or months with added weight and a different care routine. Taking a little extra time right after removal protects your scalp and sets you up for a healthier next installation. For your full ongoing routine, bookmark our hair extensions care guide - it covers washing, brushing, heat styling, and storage for every method we offer.

Step 1: Clarifying wash
A clarifying shampoo removes product buildup, adhesive residue, and any oil from the removal process. Use it once immediately after removal, then return to your regular shampoo for ongoing washes. Don't clarify more than once a week - it can be drying with repeated use.
Step 2: Deep conditioning treatment
Follow your clarifying wash with a deep conditioning mask, left on for 10-20 minutes. Your natural hair may feel a little drier or more fragile right after removal - this is normal, and conditioning immediately helps restore moisture balance. Our care guide has product recommendations for every hair type.
Step 3: Gentle detangling
Work through any tangles with a wide-tooth comb, starting from the ends and working upward. This is especially important if you had any method with bonds close to the scalp. Take your time here - your hair is most vulnerable when wet.
Step 4: Scalp massage
Give your scalp a gentle massage during your wash. Your hair follicles have been carrying weight and the massage improves circulation. Many of our customers tell us this is their favorite part of the whole process.
Step 5: Give your hair a break if you can
If your timeline allows, waiting 1-2 weeks before your next installation gives your hair time to recover and your scalp time to breathe. This is especially worthwhile between semi-permanent methods like tape-ins or fusion.
Can You Reuse Extensions After Removal?
The short answer: often yes, and this is one of the things we're most proud of with Perfect Locks hair. Because we use 100% ethically sourced Remy human hair - hair that's been collected in its natural direction with the cuticle intact - our extensions hold up through multiple uses in a way that lower-quality hair simply doesn't.
Methods That Can Be Reused
- Clip-ins - Indefinitely with proper care (1-2+ years)
- Halo extensions - Indefinitely with proper care
- Tape-ins - 2-3 reinstallations when re-taped properly
- Beaded/hand-tied wefts - The hair is reusable; beads are replaced
What Affects Reusability
- Heat styling frequency (high heat degrades the cuticle over time)
- How carefully removal was done
- Storage method between uses
- Product buildup left on the hair
We recommend washing your extensions before storing them for any extended period. Store them in a silk or satin bag - not a plastic bag - to prevent static and tangling. If you're unsure whether your extensions are still in good shape, send us a photo and we'll give you an honest assessment. We'd rather tell you it's time for a fresh set than have you reinstall hair that won't give you the result you're hoping for.
When to See a Professional Instead
We believe in empowering you to care for your extensions at home. But there are times when the smartest move is to book a stylist, and we want to be upfront about that.
See a professional for removal if:
- You have fusion, micro-bead, or hand-tied weft extensions and have never removed them before
- You're experiencing any matting or tangling around your bonds (this needs careful detangling before removal)
- Your extensions have been in significantly longer than recommended (tape-ins past 8 weeks, fusion past 5 months)
- You're experiencing any scalp tenderness, irritation, or hair loss around your bonds
- You're removing extensions to switch to a different method and want a clean start
Our Pro Stylist Locator can help you find a Perfect Locks-certified stylist near you who is experienced with all our extension methods.
Frequently Asked Questions About Hair Extension Removal
Can I remove tape-in extensions at home?
Yes, absolutely. Tape-in removal at home is very manageable once you have the right remover solution and understand that patience is the most important ingredient. The process takes 30-60 minutes for a full set. The biggest mistake people make is trying to rush or pull without remover - that's what causes damage, not the removal itself.
How do I remove tape-in extensions without remover?
We strongly recommend using a proper remover solution, but if you're in a pinch, saturating the bond with a lightweight oil (like argan or almond oil) can help soften the adhesive enough to slide the wefts apart. Apply generously, let it sit for several minutes, and be very gentle. This method is slower and leaves more residue in your hair than a dedicated remover, so clarifying shampoo is especially important afterward. Our Pure Adhesive Remover is specifically formulated for our tape-in adhesive - it makes a real difference over DIY alternatives.
Will removing hair extensions damage my hair?
Removal done correctly does not cause hair damage. The damage people sometimes experience comes from improper removal - specifically, pulling or forcing extensions out without the right solution. When bonds are properly dissolved or opened before removal, extensions slide out without any tension on your natural hair. If you follow the steps in this guide, your hair should feel fine immediately after removal.
How long does it take to remove hair extensions?
Clip-ins and halo extensions take just 2-5 minutes. Tape-ins take 30-60 minutes for a full set, depending on how many wefts you have. Fusion and keratin bonds, or beaded wefts, typically take 1-2 hours when done professionally. Build in extra time the first time you're doing any removal at home - you'll be faster once you've done it once.
Can I remove tape-in extensions the same day they were installed?
Technically yes, but we'd want to understand why before encouraging it. If the extensions aren't the right color, weight, or texture match, reach out to us first - we can sometimes solve the issue without a full removal. If the problem is discomfort or a placement issue, a stylist may be able to adjust individual wefts rather than removing everything. Our team is available to help you troubleshoot. That said, if removal is the right call, using remover solution the same day works fine since the adhesive hasn't had time to fully set.
How do I remove extensions without losing hair?
The key is never applying force when there's resistance. If anything feels like it's pulling, stop and add more remover (for tape-ins or fusion) or recheck that the bead is fully open (for beaded methods). Normal shedding of a few strands during removal is expected - we lose 50-100 hairs naturally every day, and some of those collect on bonds during wear. What you should not experience is pulling or breaking of hair that's still attached to your scalp.
I'm not sure my hair is healthy enough for reinstallation - what should I do?
This is exactly the kind of question we love because it means you're thinking long-term about your hair health. After removal, assess your hair's condition honestly - look for breakage, dryness, or thinning around the attachment points. Give it 1-2 weeks with deep conditioning before deciding on reinstallation. If you're unsure, send us a photo through our consultation page and we'll give you an honest assessment. We've been doing this since 2007 and we'd rather you wait a week than rush back into extensions before your hair is ready.
What should I do with my extensions after removal?
If they're still in good condition, clean them, dry them thoroughly, and store them flat in a silk or satin bag away from direct sunlight. For tape-ins, peel the old tape backing off while the remover is still active, then store the clean wefts - they're ready to be re-taped at your next appointment. For clip-ins and halos, a light brush-through and a cool, dry storage spot is all they need. Our care guide has full storage instructions for every method.
Ready for Your Next Set?
We hope this guide has made the removal process feel a lot less daunting. Whether you're removing to give your hair a breather, switching extension methods, or getting ready for a fresh reinstall, the most important thing is taking your time and treating both your natural hair and your extensions with care.
When you're ready for your next set, we're here. Perfect Locks has been crafting 100% ethically sourced Remy human hair extensions from our home base in Walnut Creek, California since 2007. Every set we sell is hair we'd wear ourselves. And if you're not sure which method is right for you - or if it's the right time to try something different - our free color matching consultations and our quick hair quiz are both great places to start.
Take the Hair Quiz Compare All Methods
Tape In Hair Extensions
Wake up with gorgeous hair every morning. Our tape in hair extensions stay in for weeks, feel weightless, and look co...