


How to Blend Hair Extensions for a Natural Look
What Does It Mean to Blend Hair Extensions?
Blending hair extensions is the art of making your extensions and natural hair look like one seamless, unified style. When extensions are blended well, no one can tell where your hair ends and the extensions begin - and that's exactly the goal.
Whether you're adding length, volume, or both, the difference between extensions that look amazing and extensions that look obvious almost always comes down to how well they're blended. We hear from customers all the time who say, "I love my extensions, but I can tell they're there." The good news? That's almost always fixable.
"Blending is the number one thing that separates a great extension experience from a frustrating one. We've spent over 17 years helping customers get this right, and it usually comes down to three things - the right product, the right placement, and a little styling know-how. Once you nail those, you'll wonder why you ever struggled."
- Priyanka Swamy, Founder of Perfect Locks
In this guide, we'll walk you through everything we've learned about blending extensions naturally - from choosing the right type and color to placement techniques, styling tricks, and the mistakes we see most often. Whether you're brand new to extensions or you've been wearing them for years, there's something here for you.
Why Your Extensions Might Not Be Blending

If your extensions aren't looking as natural as you'd like, you're definitely not alone. We talk to customers about this every single day, and the causes usually fall into a few common categories.
Texture mismatch is one of the biggest culprits. If your natural hair has a slight wave but your extensions are pin-straight, that difference in movement creates an obvious line where one ends and the other begins. The same applies in reverse - silky-smooth extensions paired with coarser natural hair will stand out.
Color that's not quite right is another frequent issue. Even being a half-shade off can make extensions noticeable, especially in natural light. Undertones matter just as much as the primary color. Warm-toned hair with cool-toned extensions (or vice versa) creates a disconnect that's hard to style around. If you're unsure about your shade, send us a photo for a free color match - we look at every request personally.
Thickness differences also play a role. Extensions that are significantly thicker or thinner than your natural hair create an uneven look, especially at the ends. And if your hair is heavily layered but your extensions have a blunt cut, that structural mismatch will show.
Shine level is something people often overlook. Synthetic or low-quality extensions can have an unnatural glossiness that doesn't match the way real hair catches light. This is one of the reasons we only carry 100% Remy human hair - the cuticles stay aligned in one direction, so the extensions move and reflect light just like your own hair.
Choosing the Right Extensions for a Seamless Blend

Getting the right extensions in the first place is half the battle. Think of it like finding a foundation shade - when the match is right, everything else becomes easier.
Match Your Texture
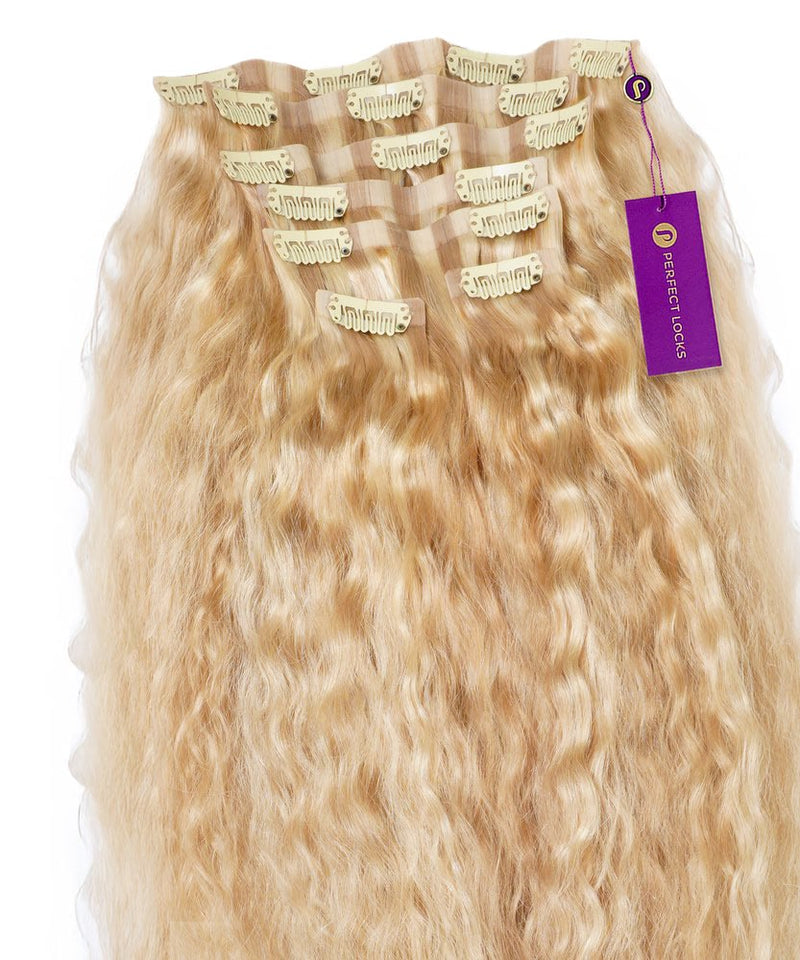
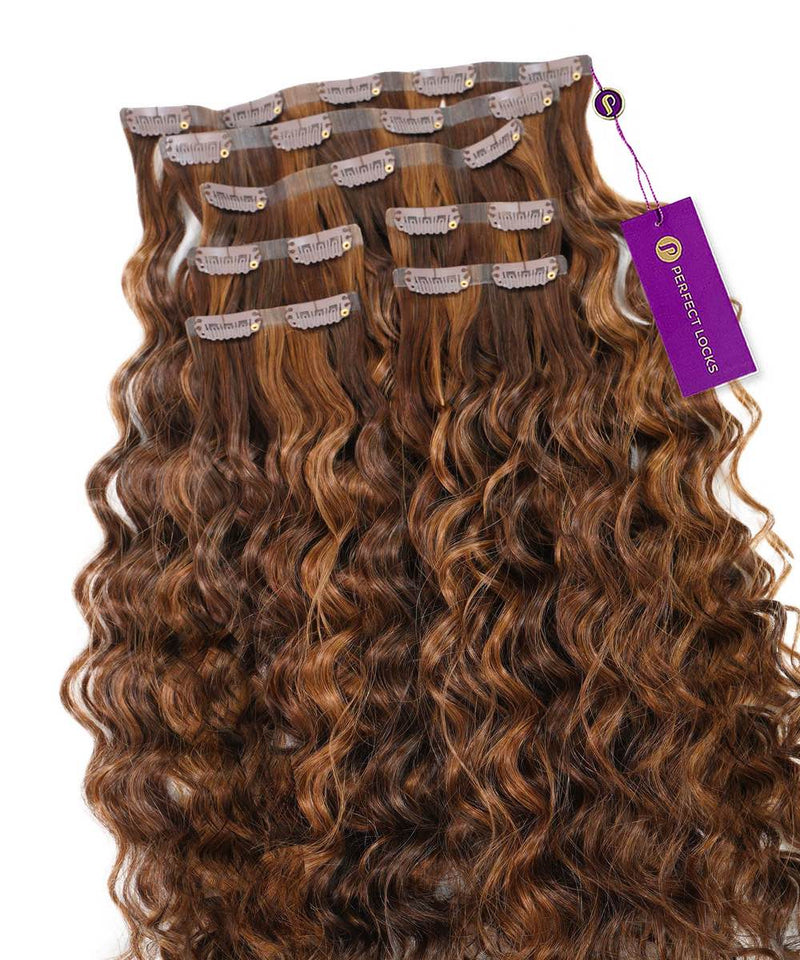
Your extensions should mimic your natural hair texture as closely as possible. If your hair is naturally straight, straight extensions will integrate most easily. If you have waves or curls, look for extensions that match your curl pattern. We carry everything from straight clip-ins to curly extensions for exactly this reason - texture matching is non-negotiable for a natural blend.
Not sure what your texture is or which extensions would work best? Take our quick quiz and we'll give you a personalized recommendation.
Get the Color Right
When matching color, look at your hair in natural daylight - not just under bathroom lights. Pay attention to three things: your primary shade, your undertone (warm, cool, or neutral), and how your hair looks at the ends versus the roots. If you have highlights or balayage, look for extensions that match your mid-lengths and ends rather than your root color.
We offer a free color matching consultation where you can send us a photo and our team will recommend the best shade. We've been doing this since 2007, so we're pretty good at it.
Choose the Right Weight
Extension weight (measured in grams) should correspond to your natural hair density. If your hair is fine or thin, a heavy set will look bulky and obvious. If your hair is thick, a lightweight set won't have enough volume to blend in. Check our extension quantity guide to figure out the right weight for your hair type.
Invest in Quality
This is where we'll always be honest with you: cheap extensions rarely blend well. They tend to be overly shiny, tangle easily, and don't move the way natural hair does. All of our extensions are made from 100% ethically sourced Remy human hair - meaning the cuticles are intact and aligned in the same direction. This is what gives them that natural movement and shine that makes blending so much easier.
How to Place Extensions for a Natural Look
Placement is everything. You could have the perfect color and texture match, but if your extensions are clipped in the wrong spot, they'll be visible. Here's how to get it right.
Start at the Right Height
Attach your first (widest) weft about an inch above the top of your ears. This is the sweet spot - high enough to add volume, but low enough that your natural hair covers the clips completely. Never place wefts above your eyebrow line, as your natural hair won't be thick enough to conceal them up there.
Section Properly
Use the end of a tail comb to create clean, horizontal sections. The section of natural hair that sits above each weft needs to be thick enough to fully cover the clips. A common mistake is making these sections too thin - if you can see through the hair to the clips below, add more hair to that section.
Tease for Grip
Before clipping in each weft, lightly tease or backcomb the roots of the section where you'll attach the clips. This creates texture for the clips to grip onto and prevents them from sliding down throughout the day. A quick spritz of dry shampoo or texturizing spray works well here too.
Stagger Your Wefts
Don't stack all your wefts directly on top of each other in a straight line. Instead, stagger them slightly - offset each layer by about half an inch. This distributes the volume more naturally and prevents that "shelf" look where you can see a sudden increase in thickness at one point.
Use Diagonal Placement for Side Wefts
For the smaller two-clip and one-clip wefts that go near your temples, clip them in at a slight diagonal angle (higher in the back, lower toward the front). This follows the natural growth pattern of your hair and creates a more natural volume distribution around your face.
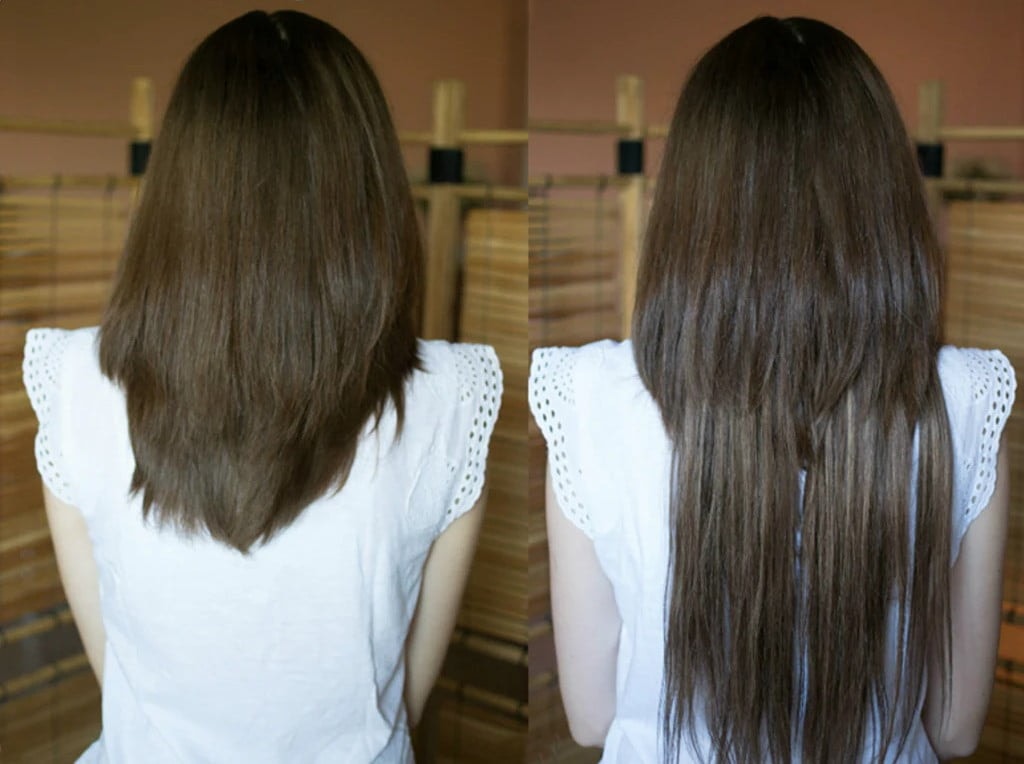
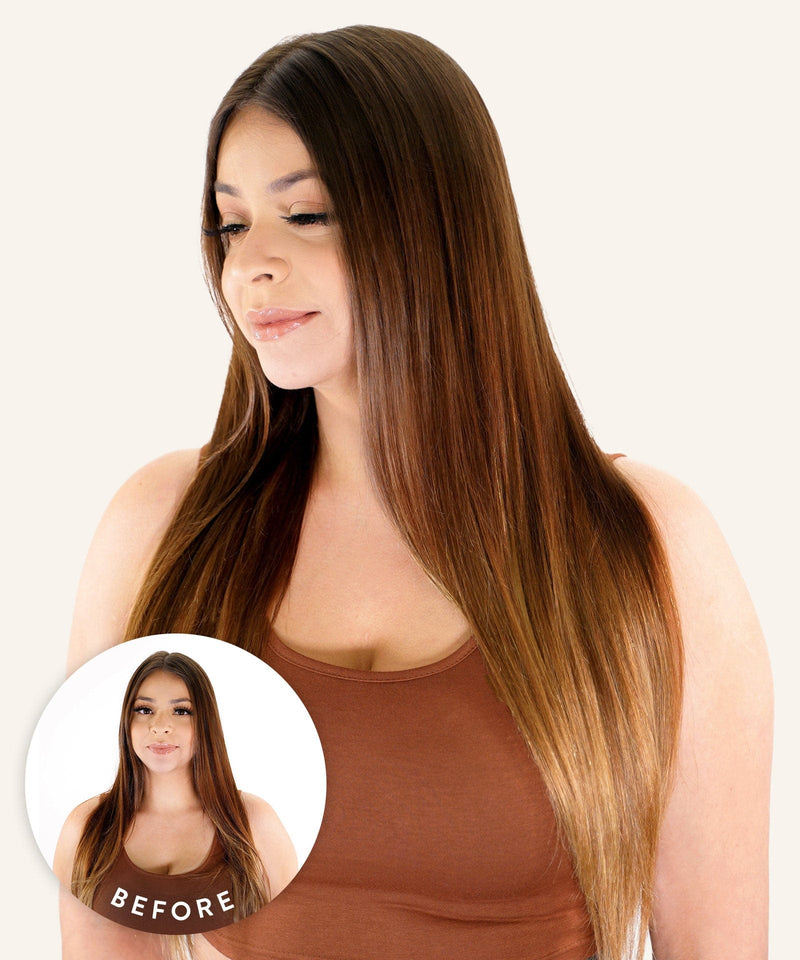
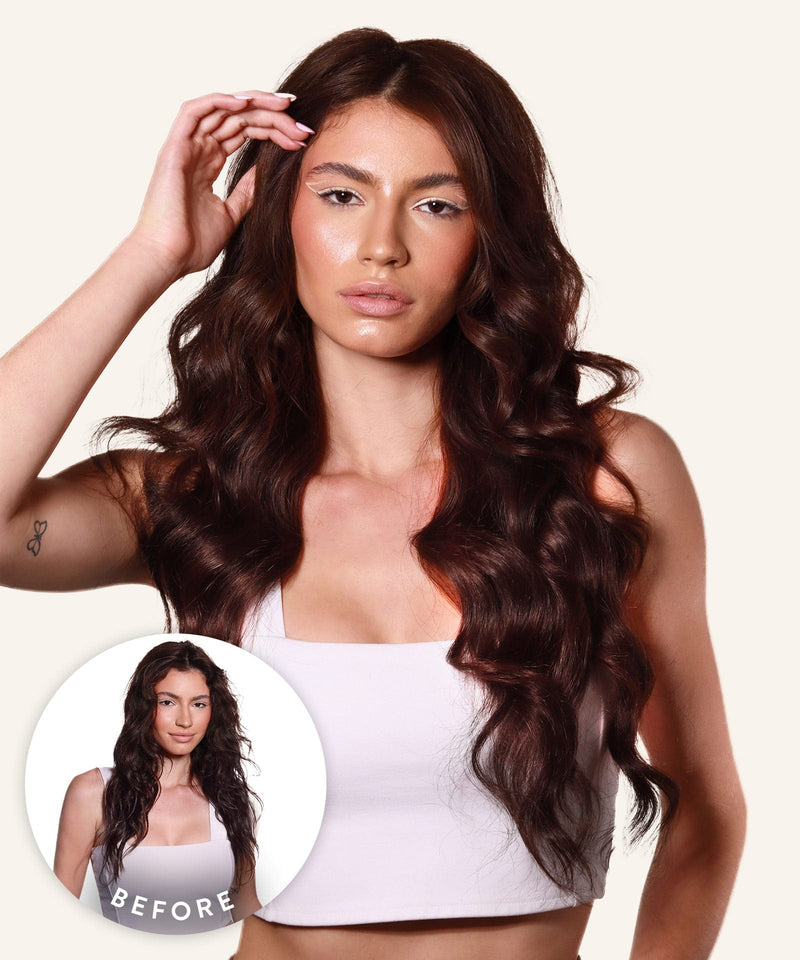
Here's a look at how proper placement makes all the difference:
Layering and Cutting Extensions to Match Your Hair
Even perfectly color-matched extensions can look unnatural if the ends don't flow together. This is where layering and trimming make a huge difference.
The best approach is to trim your extensions while they're clipped in. This way, you can see exactly how they fall with your natural hair and cut accordingly. Start conservatively - take off about an inch at a time and cut with your scissors pointing downward at a vertical angle. This creates softer, more blended ends rather than a blunt line.
Face-framing layers are especially important. These are the pieces that sit around your cheekbones and jawline, and they're the most visible. If your natural hair has layers here but your extensions don't, the transition will be obvious. A few angled cuts around the front can make a dramatic difference.
If you have particularly thin or fine hair, thinning out the ends of your extensions with thinning shears can help prevent them from looking too heavy compared to your natural hair. The goal is to make the density taper naturally from root to tip.
Styling Techniques for Seamless Blending

Styling is where the magic really happens. Even if your placement and color match are solid, the right styling techniques can take your blend from good to completely undetectable.
Curling and Waving
This is the single most effective blending technique we recommend. Curls and waves create movement and texture that naturally disguise where your hair ends and the extensions begin. The key is to curl your natural hair and extensions together - grab a section that includes both, wrap it around the barrel, and release. This fuses them into one continuous wave.
A 1-inch to 1.25-inch curling wand works well for most hair lengths. Curl away from your face for a more polished look, or alternate directions for beachy, undone waves. Either way, finish by gently running your fingers through the curls to break them up and create a more natural texture.
If you prefer to skip the heat, try braiding your hair (with extensions clipped in) while it's slightly damp and letting it air dry. This creates soft, heatless waves that blend beautifully.
Straightening for a Sleek Blend
If straight hair is your style, you can absolutely achieve a seamless blend - it just requires a bit more precision. Run a flat iron through your natural hair and extensions together, working in sections from underneath to the top layer. This unifies the texture and shine so everything looks consistent.
The trick with straight styles is making sure the ends blend perfectly. If your natural hair is slightly thinner at the ends than your extensions, use the flat iron to bevel the ends slightly inward. This creates a polished, cohesive finish that masks any difference in thickness.
Always use a heat protectant on both your natural hair and extensions. Since our extensions are real human hair, they respond to heat styling just like your own hair - but protecting them keeps them looking great longer.
Braids and Updos
Braids are fantastic for blending because they physically weave your natural hair and extensions together. Whether it's a simple three-strand braid, a fishtail, or a more intricate style, braiding conceals extension tracks while creating a polished look.
Here's a tutorial showing how braids and updos can incorporate extensions beautifully:
How to Style Braids and Updos with Extensions
For updos like ponytails and buns, make sure to secure the extensions well before styling upward. A loose ponytail or messy bun is actually easier to blend than a tight, sleek one - the intentional texture hides everything. If you're going for a sleek updo for a special occasion, seamless clip-ins are ideal - their thinner, flatter weft won't create bumps under pulled-back styles.
Seamless Clip-In Hair Extensions
The ones nobody can tell you're wearing. Our seamless clip-in hair extensions use an ultra-thin skin weft that lies f...


How to Blend Extensions with Short Hair
We won't sugarcoat it - blending extensions with short hair takes a bit more effort than with longer hair. But it's absolutely doable, and we help customers with short hair find their perfect match every day. Here are the techniques that work best.
Start with a three-clip weft as your base layer. This wider weft gives you a solid foundation across the back of your head. Position it about an inch above your nape, where you have enough natural hair to cover it.
Braid or twist the short pieces at the base. Those shorter strands near your nape that are too short to blend? Twist or braid them flat against your head before clipping in your extensions. This tucks them out of sight and creates a cleaner canvas for the extensions to sit against.
Curl everything together. This is the best single trick for short hair blending. Once your extensions are in, curl sections that include both your natural hair and the extensions in one pass. The waves create movement that disguises the length difference and makes everything flow together.
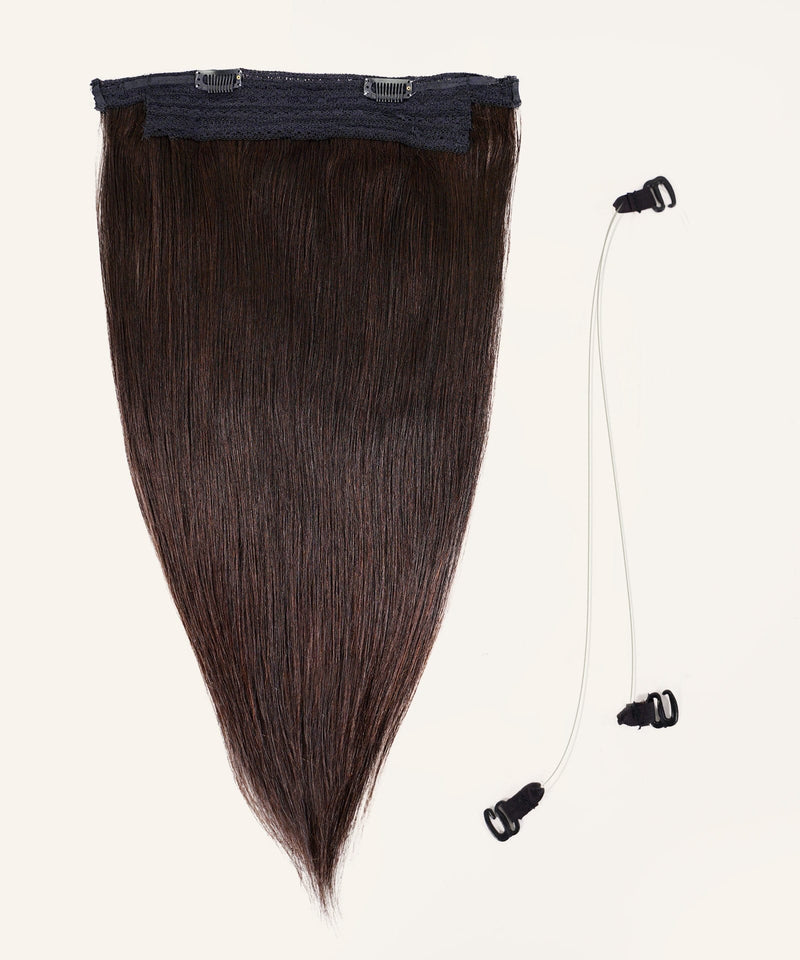
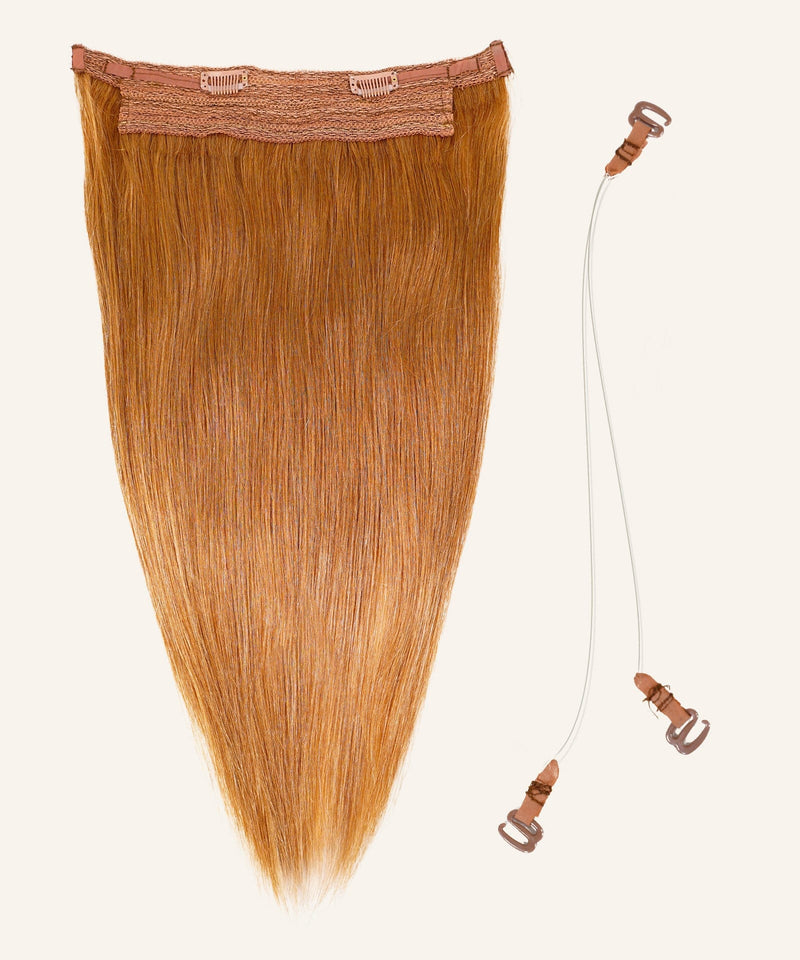
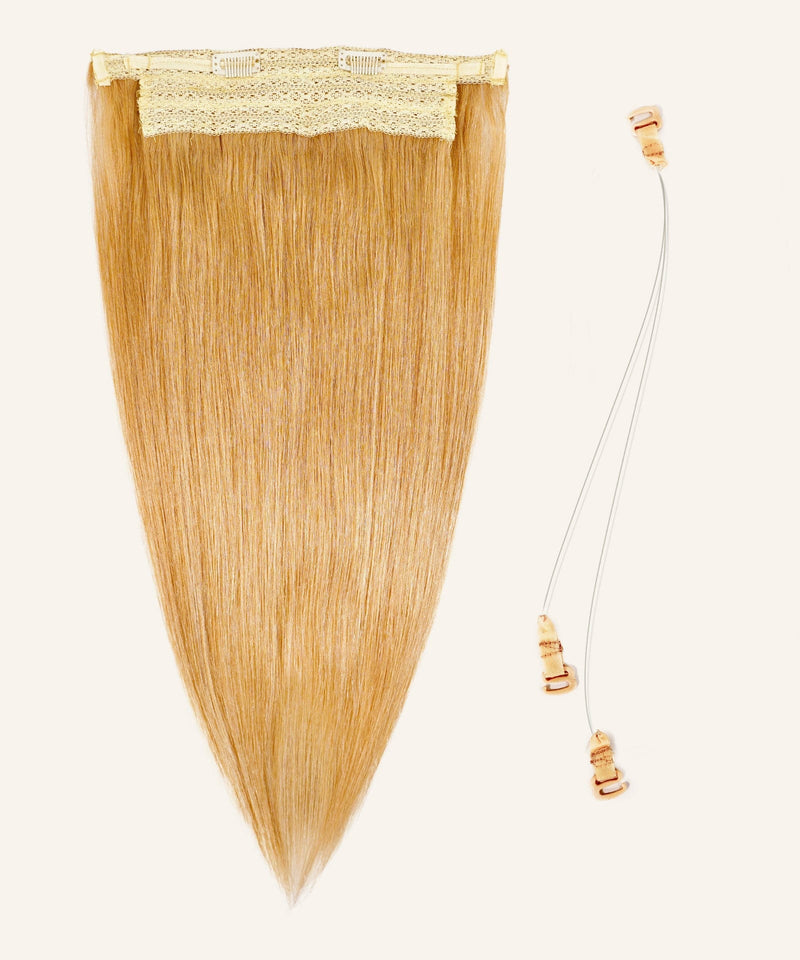
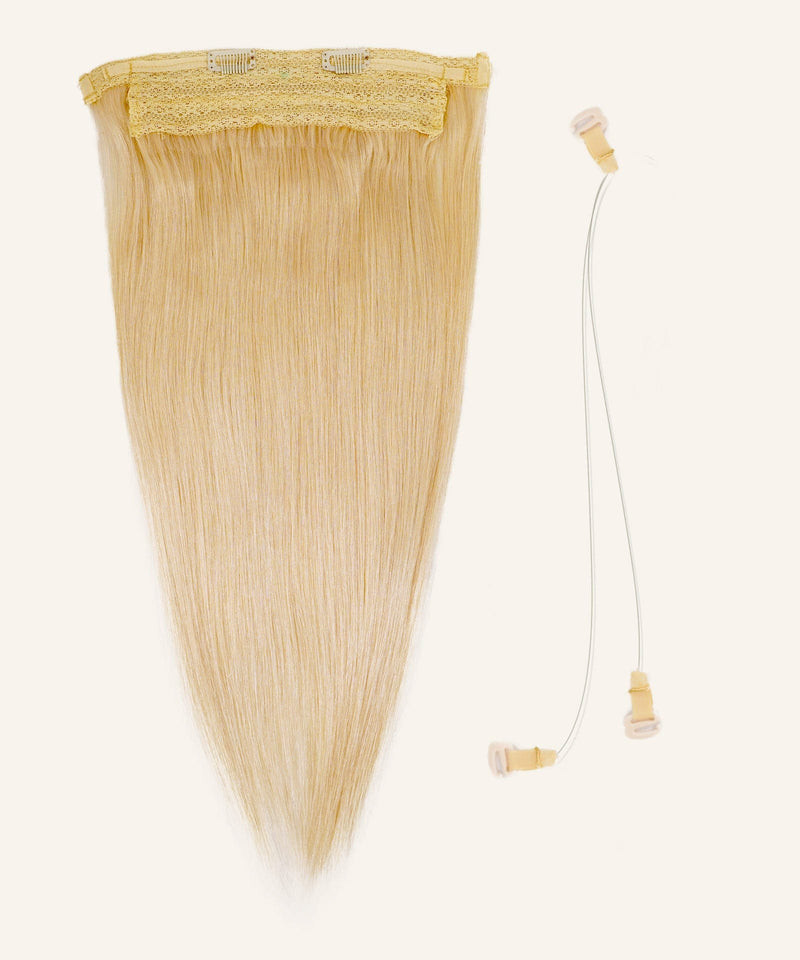
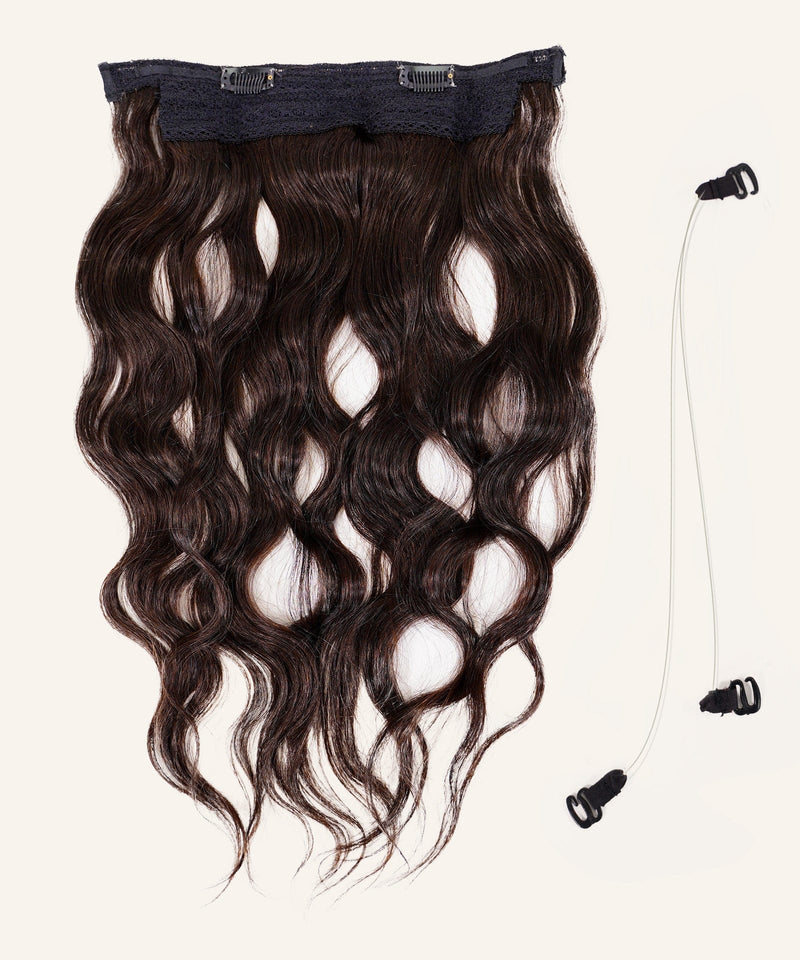
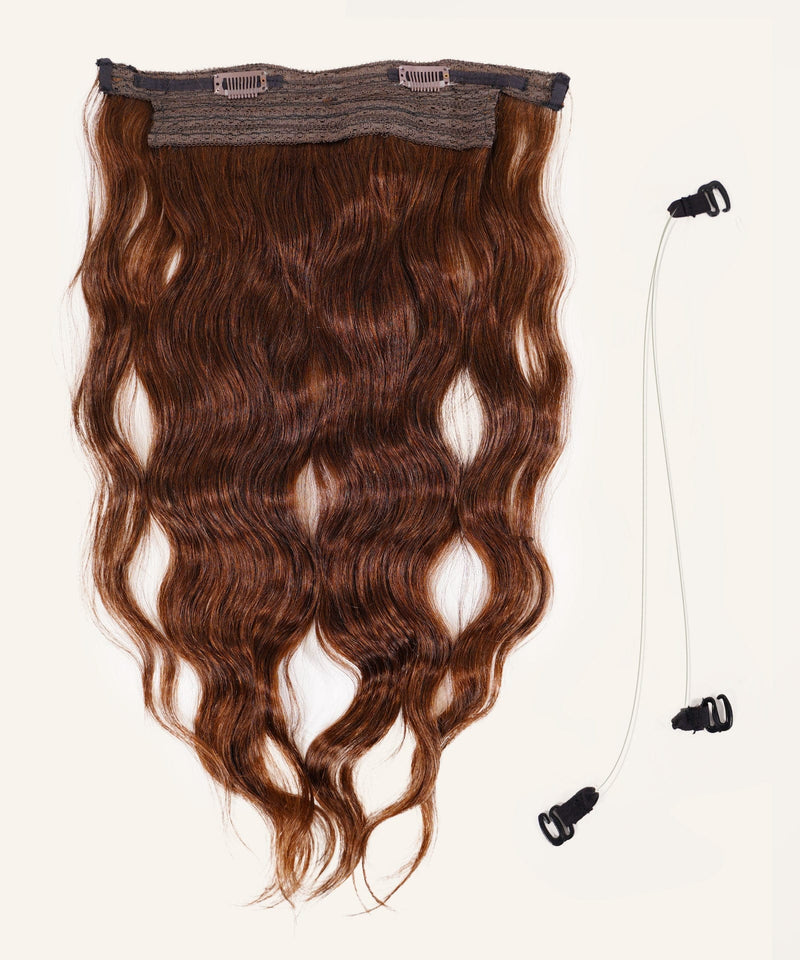
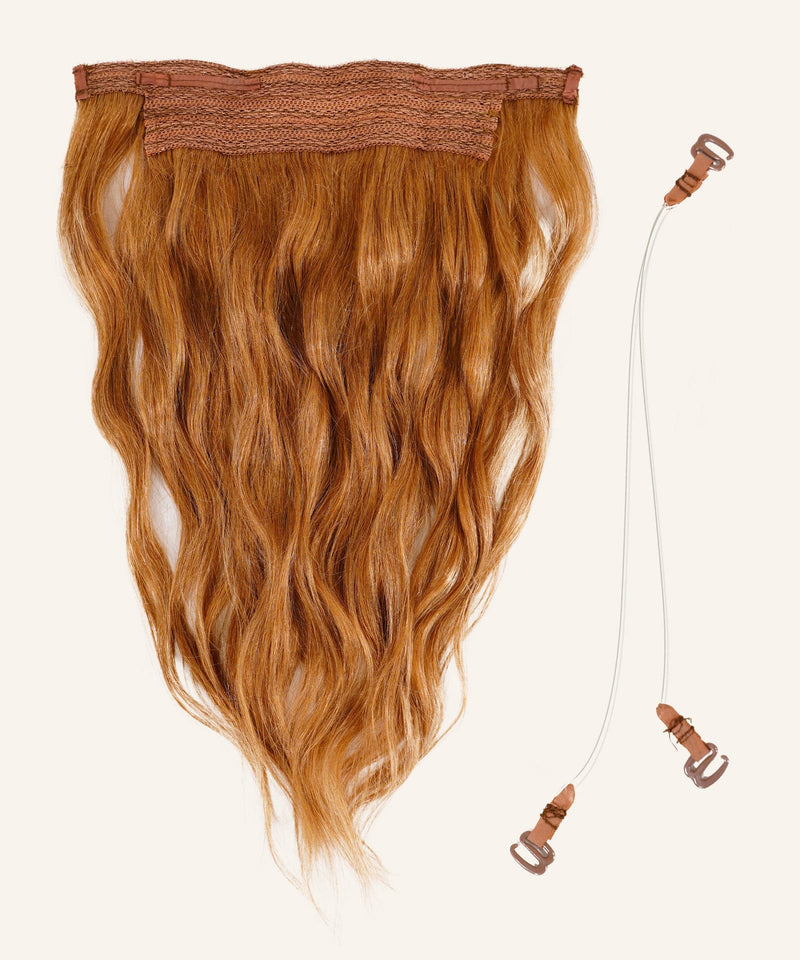
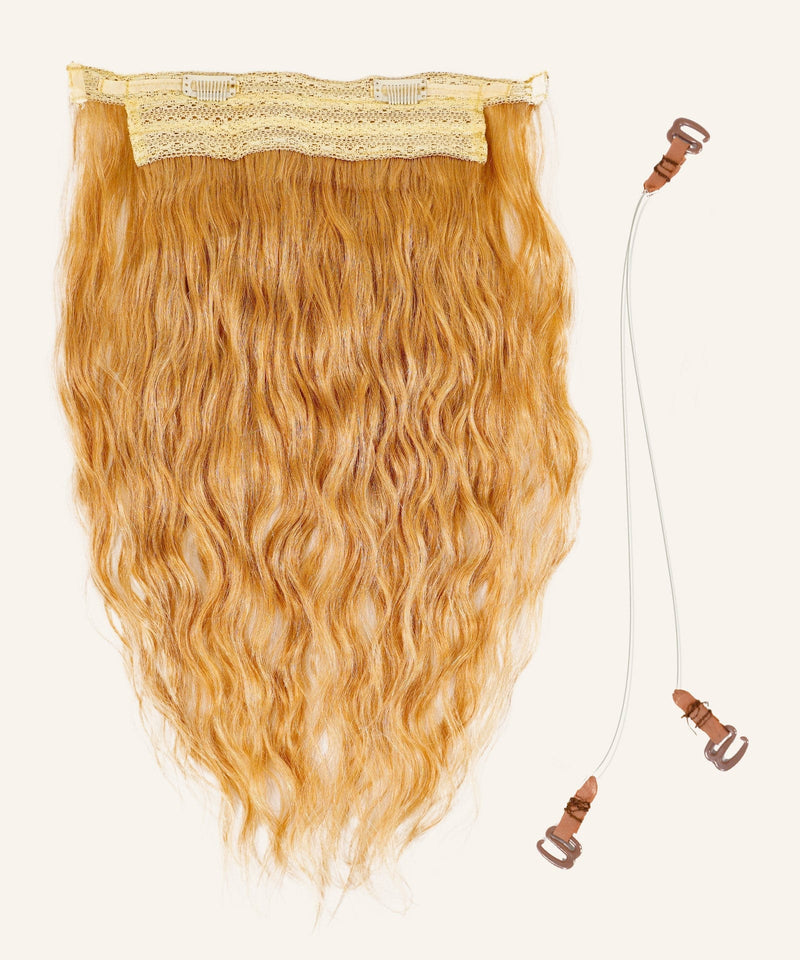
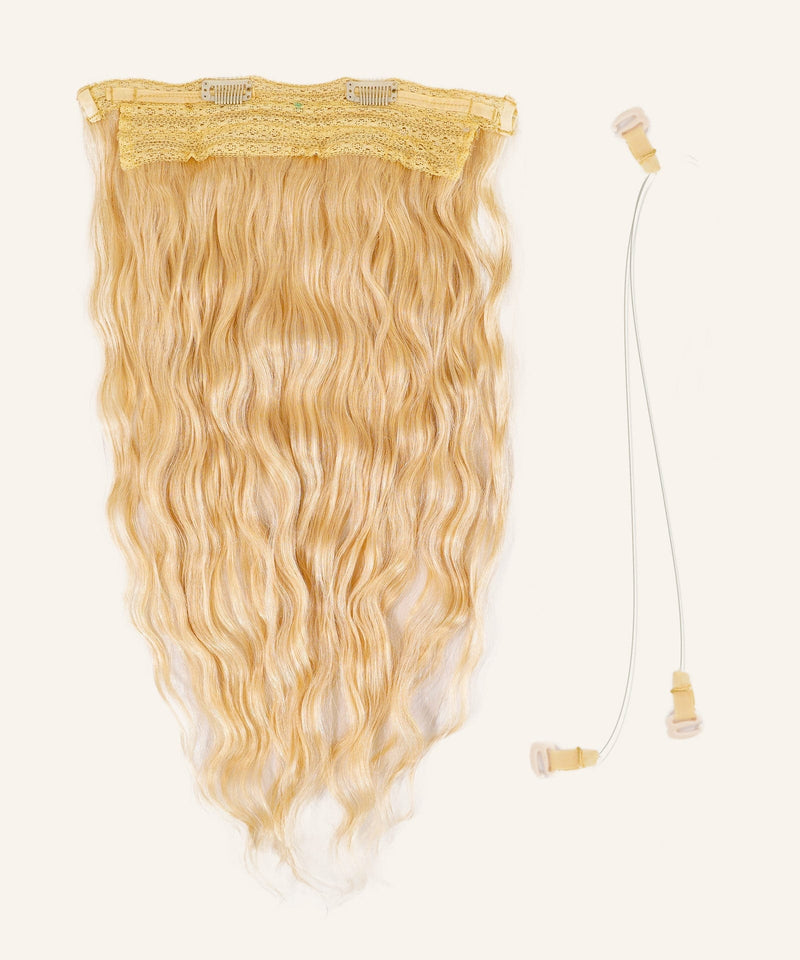
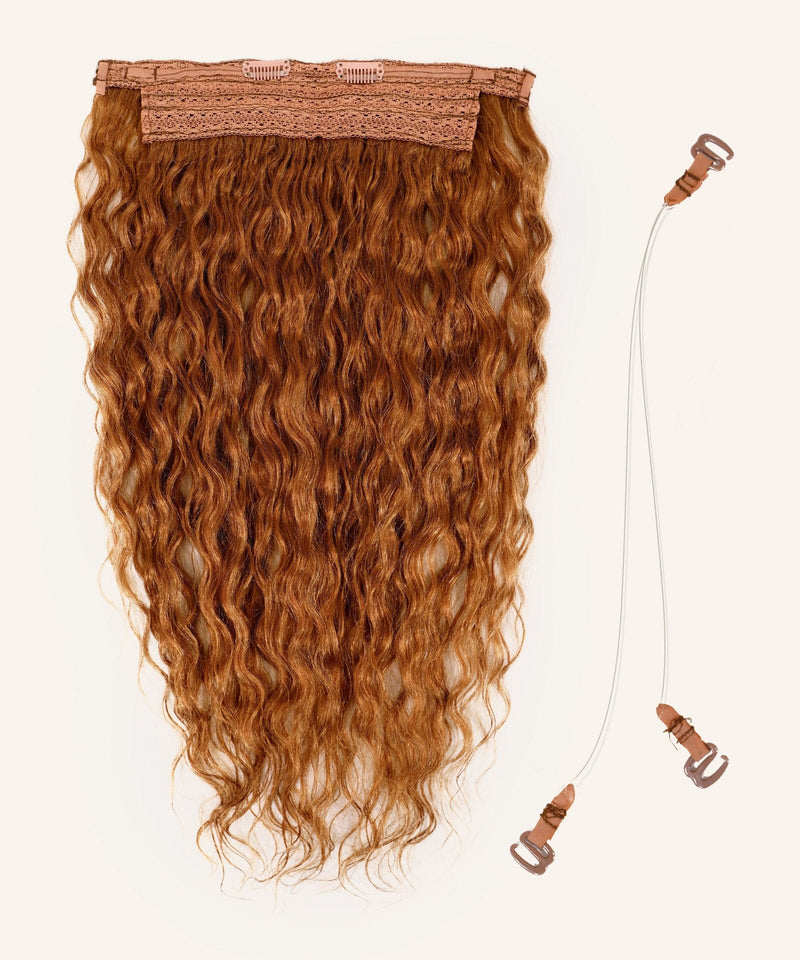
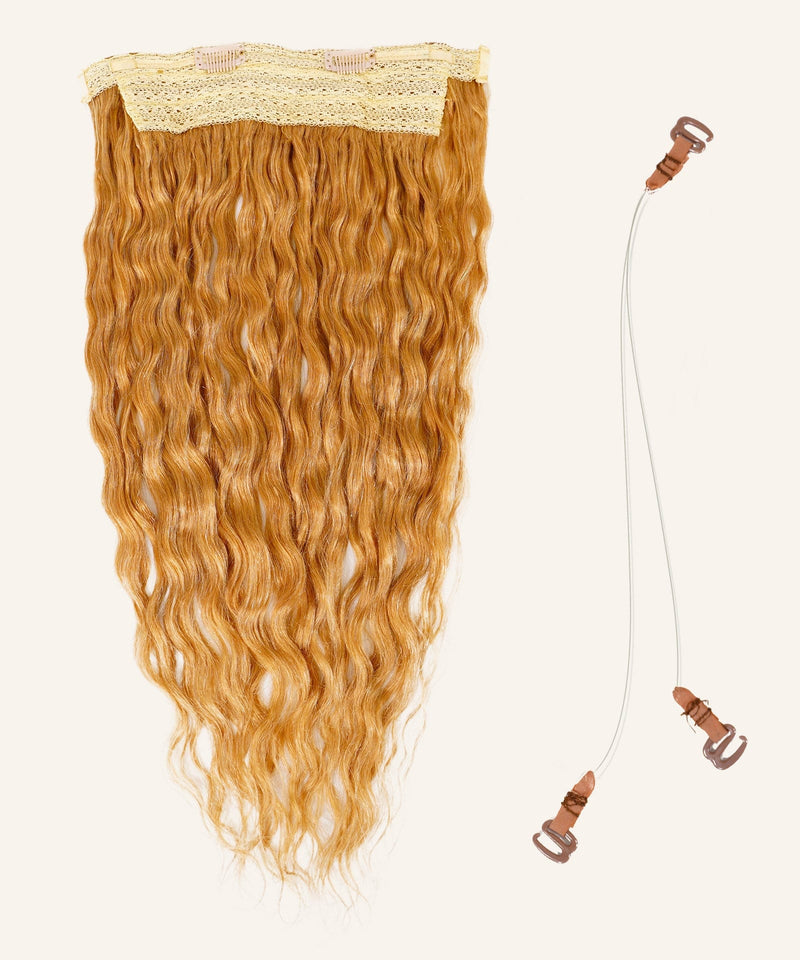
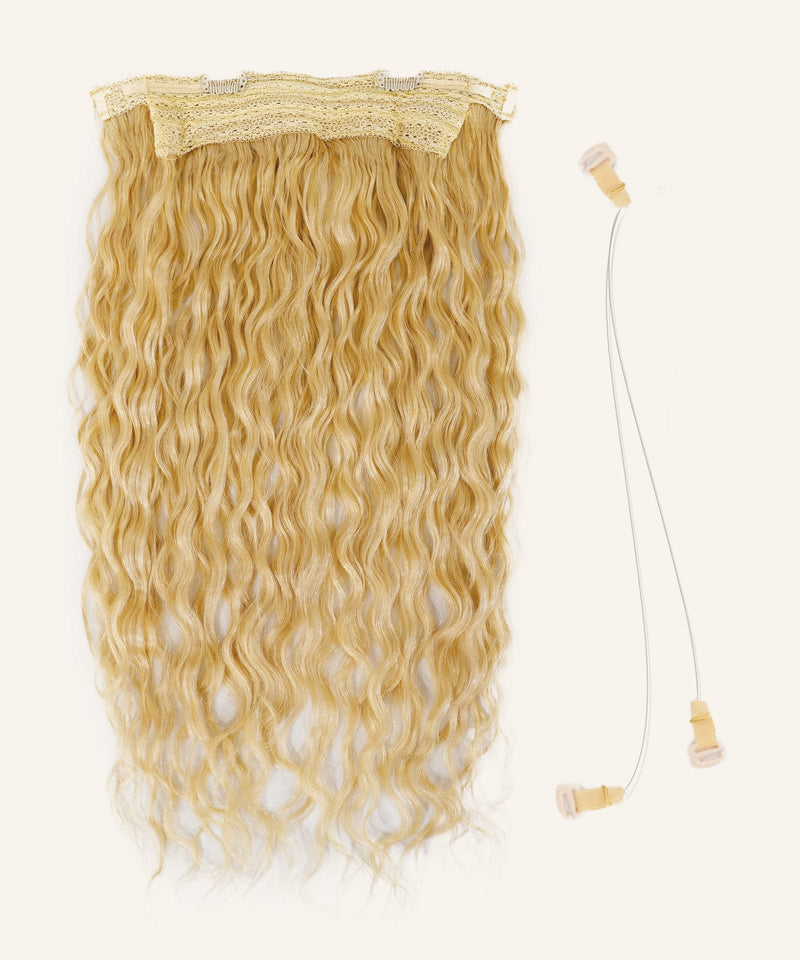
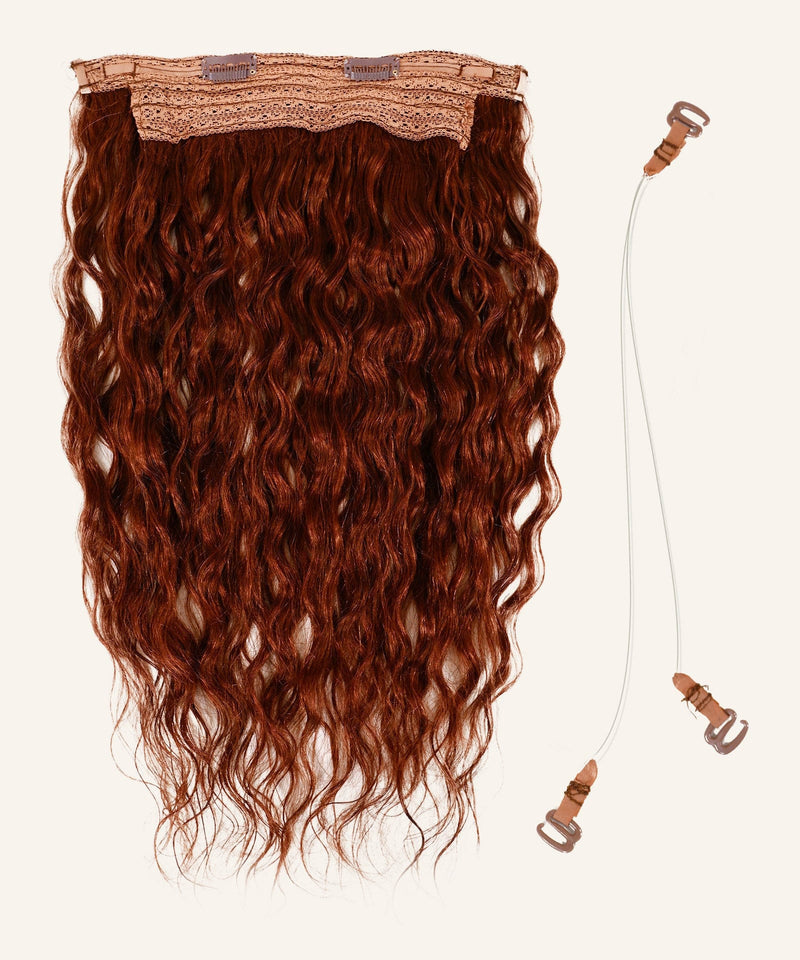
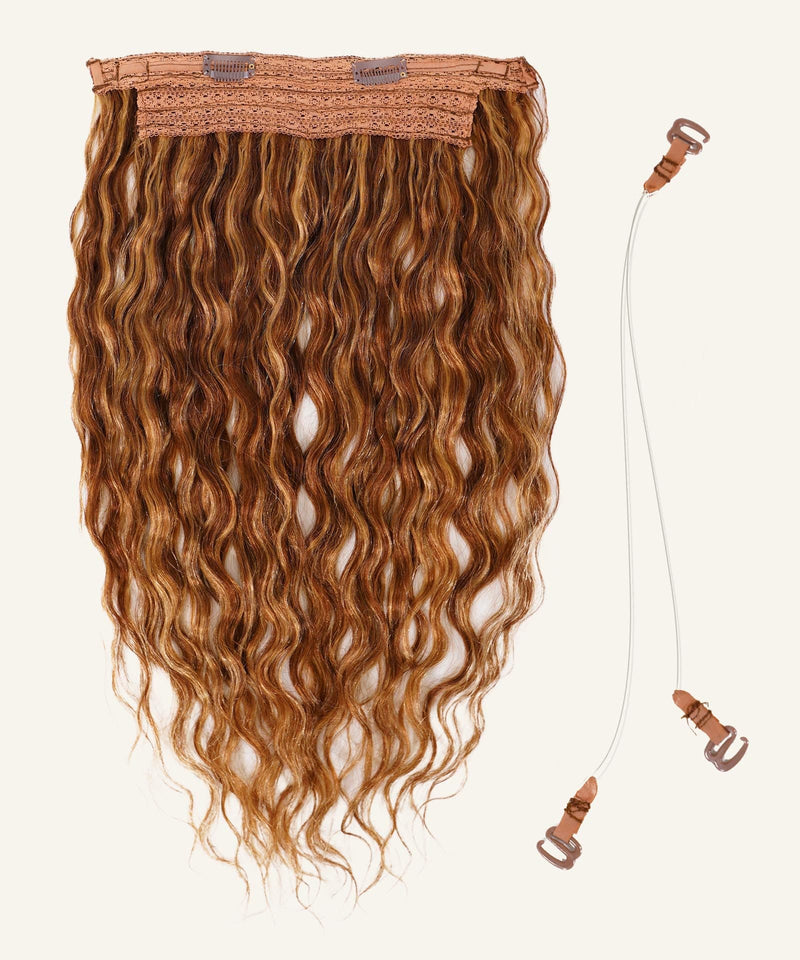
Consider a halo extension. If clip-ins feel tricky with your hair length, halo extensions can be a game-changer. They sit on an invisible wire and don't require clips at all, which means no wefts to conceal. We were actually the first company to offer halo extensions for textured hair, so we have options for every hair type.
For a deeper dive into making extensions work with shorter cuts, check out our full guide on blending extensions with short hair.
Halo Hair Extensions
The easiest transformation in hair extensions - literally seconds to put on, seconds to take off, zero damage. Our Pe...


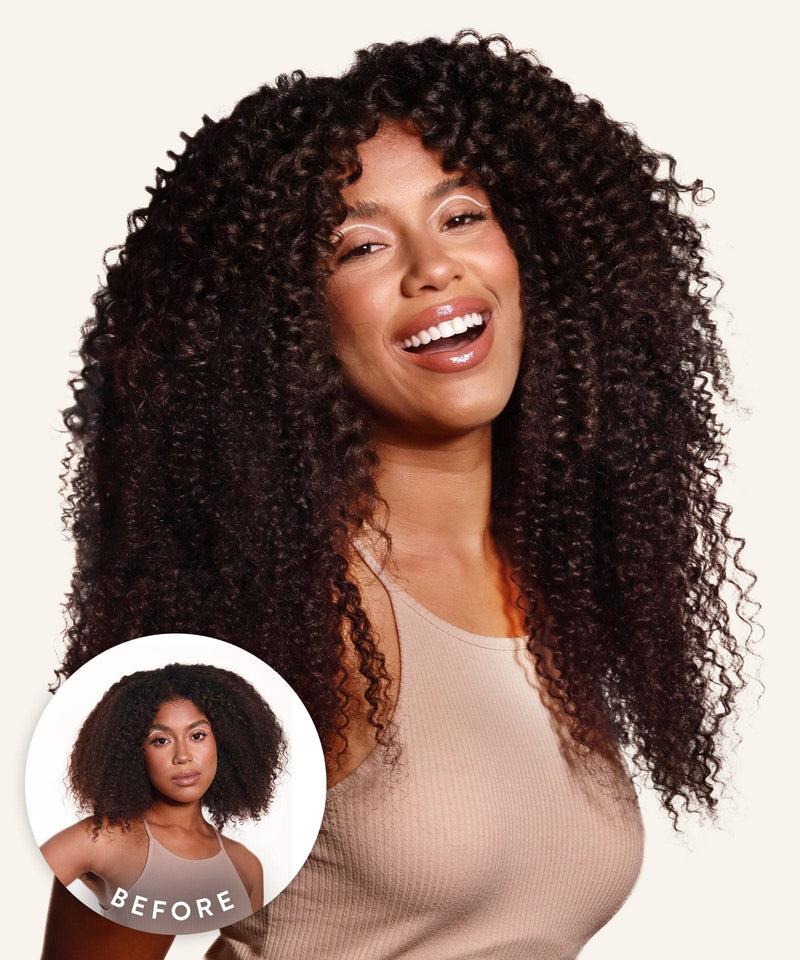
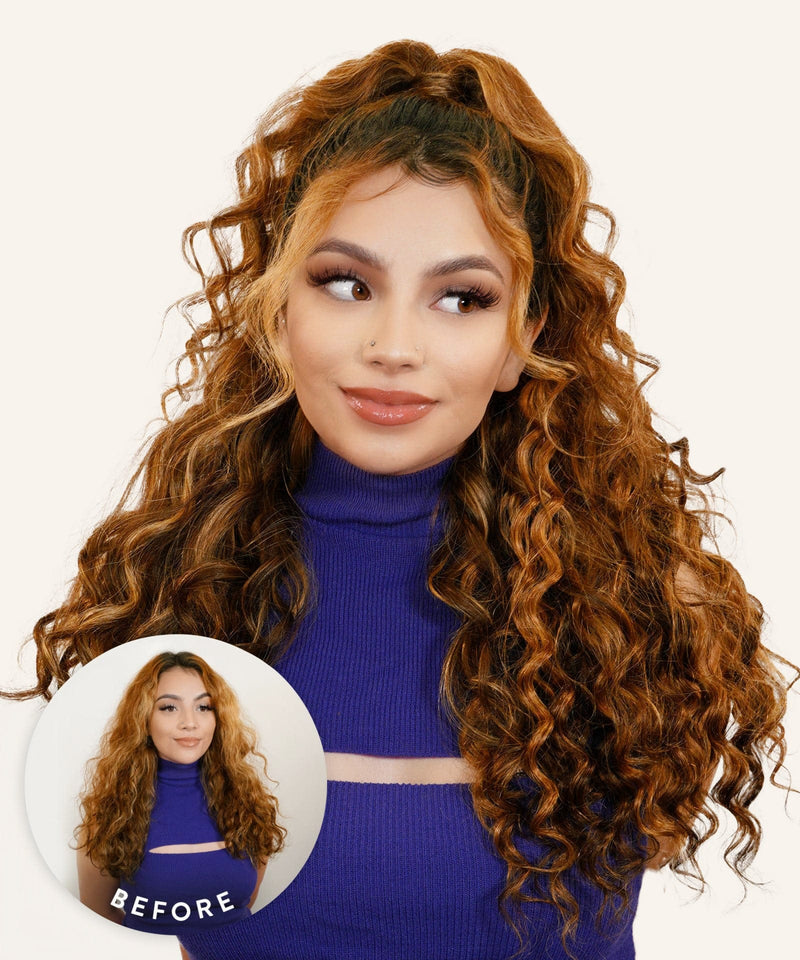
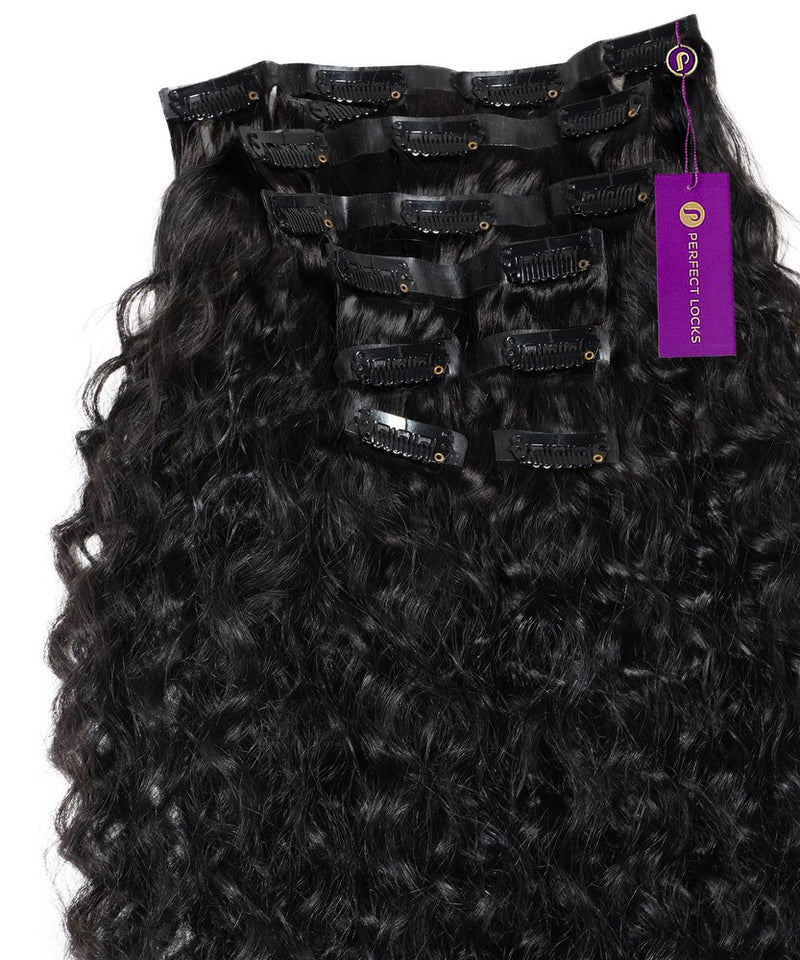
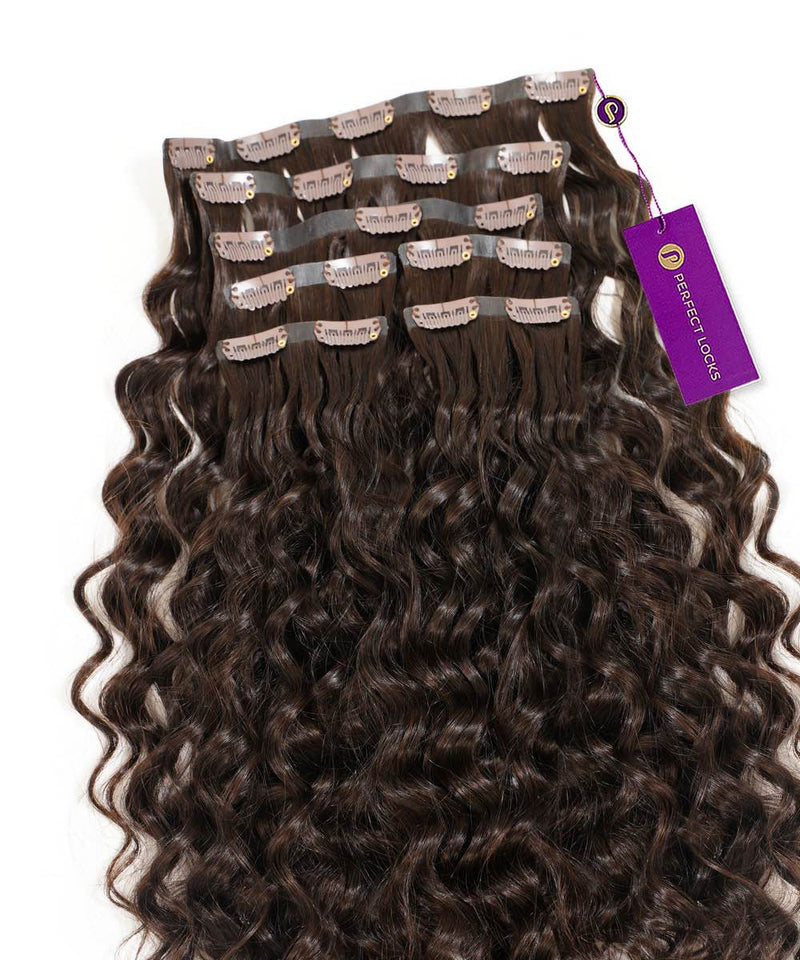
How to Blend Curly Hair Extensions
Curly and textured hair actually has a natural advantage when it comes to blending - all that volume and movement helps conceal extension tracks. But matching curl patterns precisely is critical. Straight extensions in curly hair (or vice versa) will never look right no matter how well you place them.
If your curls are loose waves (type 2), look for wavy extensions and use a diffuser to encourage them to match your natural pattern after clipping in. For tighter curls and coils (types 3 and 4), we carry curly extensions that are designed to match these textures straight out of the box.
One technique that works especially well for curly hair: apply a lightweight curl cream to both your natural hair and the extensions after clipping in, then scrunch them together. This encourages the textures to merge and creates a unified curl pattern. For more tips, we have a dedicated guide on blending curly hair extensions.
Caring for Your Extensions to Maintain the Blend
Great blending isn't a one-time achievement - it takes ongoing care to keep your extensions looking natural over time. Think of it like maintaining a good haircut: a little regular attention goes a long way.
Washing: Only wash your extensions when there's visible product buildup - for clip-ins, that's usually every 15 to 20 wears. Use a sulfate-free shampoo and conditioner, and always wash gently in a downward motion (never bunch them up). For a full breakdown, check our extensions care guide.
Conditioning: Apply a deep conditioning or hair mask treatment once or twice a month to keep the extensions soft and hydrated. Dry extensions become frizzy and lose their ability to blend smoothly with your natural hair.
Drying: Air-drying is always best. If you need to speed things up, blot with a microfiber towel (never rub) and finish with a blow dryer on a low heat setting. This prevents the tangling and frizz that makes extensions look obviously different from your own hair.
Storage: When you're not wearing your clip-ins, store them in the bag or box they came in, or hang them on a hanger. Tossing them in a drawer leads to tangling, which leads to frizz, which leads to a poor blend next time you wear them.
Heat styling: Since our extensions are real human hair, they can handle heat styling - but always use a protectant spray first, and keep the temperature under 350 degrees Fahrenheit. Excessive heat over time dries out extensions and changes their texture, making them harder to blend.
Common Blending Mistakes (and How to Fix Them)
After helping thousands of customers over the years, we've seen the same mistakes come up again and again. Here's what to watch out for:
Placing wefts too high. This is the number one mistake. If your extensions are clipped anywhere above your eyebrow line, there simply isn't enough natural hair above them to create coverage. Move them lower - it makes an immediate difference.
Skipping the trim. Extensions straight out of the package have blunt, uniform ends. Your hair doesn't look like that. Taking even 10 minutes to layer and trim your extensions while wearing them transforms the blend.
Using extensions that are too thick for your hair. More is not always more. If you have fine or thin hair and you clip in a heavy set, the weight and volume difference will be dramatic and obvious. Choose a weight that complements your natural density - our clip-in guide has specific recommendations by hair type.
Ignoring the ends. If your natural hair thins out at the ends but your extensions are full and thick all the way down, the bottom few inches will look mismatched. Thin out the extension ends with thinning shears, or ask your stylist to point-cut them for a more natural taper.
Not styling extensions with your natural hair. Simply clipping in extensions and walking out the door works for some people, but most will get a better blend by spending a few minutes curling or styling everything together. It takes five extra minutes and makes a massive difference.
Wrong color match. Even a slight color mismatch becomes obvious in certain lighting. If you're unsure, send us a photo before ordering. We've been matching colors for over 17 years and we'd rather help you get it right the first time than have you deal with returns.
Which Extension Type Blends Most Easily?
Not all extension methods blend the same way. Here's a quick comparison to help you choose:
| Feature | Clip-Ins | Seamless Clip-Ins | Tape-Ins | Halo |
|---|---|---|---|---|
| Blend Difficulty | Easy | Very Easy | Very Easy | Easiest |
| Best For | Most hair types | Updos and sleek styles | Fine or thin hair | Beginners and short hair |
| Application Time | 5 - 10 minutes | 5 - 10 minutes | 45 - 90 minutes (salon) | Under 2 minutes |
| Attachment | Pressure-sensitive clips | Thin silicone weft with clips | Medical-grade adhesive panels | Invisible wire |
| Visibility | Low with proper placement | Very low - lies flat | Very low - close to scalp | None - no clips or bonds |
| Removable Daily? | Yes | Yes | No - semi-permanent | Yes |
| Styling Needed to Blend | Moderate - curling helps | Minimal | Minimal | Minimal - natural hair covers wire |
| Professional Install? | No | No | Yes - recommended | No |
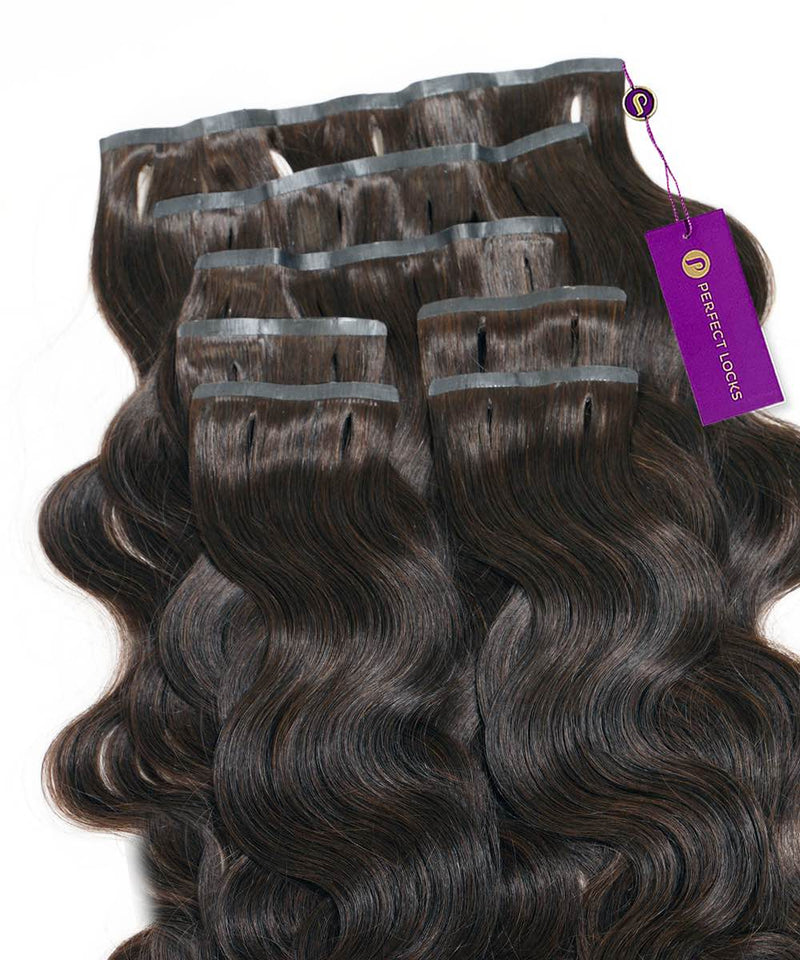
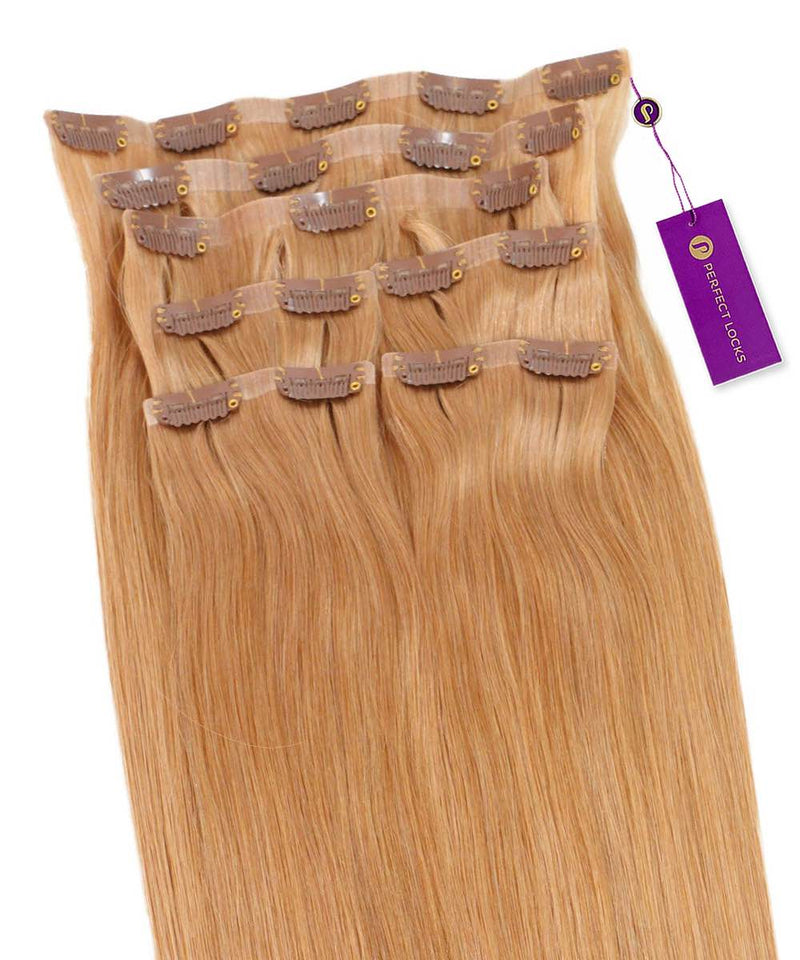
Clip-in extensions are the most popular option for at-home blending. They're removable, require no professional installation, and work well for most hair types. Our clip-ins come in sets with multiple weft sizes so you can customize your placement. For an even more invisible look, our seamless clip-ins have a thinner, silicone-based weft that lies completely flat against your head.
Tape-in extensions are a semi-permanent option where thin adhesive panels are sandwiched around your natural hair. Because the attachment point is flat and close to the scalp, they blend extremely well - especially for fine or thin hair. Learn more in our tape-in extensions guide.
Halo extensions sit on an invisible wire that rests on top of your head, with your natural hair layered over the top. There are no clips or adhesive, which means nothing to conceal. They're particularly good for beginners or anyone who finds clip-in placement tricky. Explore our halo collection to see if they're right for you.
Not Sure Which Extensions Are Right for You?
Take our quick quiz to get a personalized recommendation based on your hair type, lifestyle, and styling preferences.
Take the Quiz
Ready to Find Your Perfect Blend?
Blending hair extensions is a skill that gets easier with practice. The first time you try it, expect a bit of a learning curve - that's completely normal. But once you find the right placement, the right styling technique, and the right product for your hair, clipping in and blending becomes second nature.
At Perfect Locks, we're a family business that's been helping people find their perfect extensions since 2007. Every set we sell is made from 100% ethically sourced Remy human hair, because we only sell hair we'd wear ourselves. And if you ever need help with color matching, choosing the right weight, or figuring out placement, our team is here for you.
Send us a photo for a free color match, take our quiz for a personalized recommendation, or reach out for a free consultation. We look at every request personally and we'd love to help you get the blend you've been looking for.
Frequently Asked Questions
How do I blend hair extensions that are a slightly different color than my natural hair?
If your extensions are close but not an exact match, curling or waving your hair is the best quick fix - the movement breaks up the color transition and makes slight differences much less noticeable. You can also try mixing wefts from two different shades for a more dimensional, natural look. For a closer match from the start, send us a photo through our free color matching service and we'll recommend the best shade for you.
Can you blend hair extensions with very short hair?
Yes, though it takes a bit more technique. You'll generally need at least 4 to 5 inches of natural hair length for clip-ins to blend well. Braid or twist the shorter pieces flat before clipping in, use more wefts for fuller coverage, and curl everything together once the extensions are in place. Halo extensions are also a great option for shorter hair since there are no clips to conceal. Read our full guide on blending extensions with short hair for step-by-step instructions.
What type of hair extensions blend the most naturally?
Seamless clip-in extensions and tape-in extensions tend to blend the most naturally because their attachment methods are very thin and lie flat against the head. Halo extensions are also excellent for a natural look since there are no visible clips or bonds at all. The most important factor, though, is matching your texture and color correctly - any extension type will blend well if the match is right.
How do I stop my extensions from looking bulky?
Bulky extensions usually mean you're either using too many wefts, the extensions are too thick for your natural hair, or they haven't been layered to match your cut. Start by removing one or two wefts to see if that helps. Then trim and layer the extensions while wearing them so the volume tapers naturally. Staggering the weft placement instead of stacking them in a straight line also distributes the volume more evenly.
Do I need to curl my extensions every time I wear them?
Not necessarily, but styling your extensions with your natural hair is the most reliable way to achieve a seamless blend. If you prefer straight styles, make sure your extensions are properly layered and trimmed to match your cut, and use a flat iron to unify the texture. For a low-effort option, try halo extensions - they sit under your natural hair and blend well even without additional styling.
How often should I wash my clip-in extensions?
We recommend washing clip-in extensions every 15 to 20 wears, or when you notice product buildup. Washing too frequently strips the moisture from the hair and can change the texture over time, which makes blending harder. Always use sulfate-free products and let them air dry when possible. Check our complete care guide for detailed washing instructions.
Can Perfect Locks help me choose the right extensions for my hair?
Absolutely - that's one of our favorite things to do. You can take our quick quiz for a personalized recommendation, or send us a photo of your hair through our free color matching service. Our team reviews every request personally and we'll help you find the right shade, weight, and extension type for your hair. We've been doing this since 2007 and we genuinely enjoy helping people find their perfect match.