Why Proper Detangling is Essential for Your Curly Weave
How to detangle your curly weave starts with understanding that curly extensions are naturally more prone to tangling than straight hair due to their spiral structure. When you know the right techniques, you can keep your curls looking gorgeous without the stress of painful detangling sessions or excessive shedding.
Quick Answer: How to Detangle Curly Weaves
- Work on damp hair - Never detangle completely dry curls
- Start at the ends - Work your way up to the roots gradually
- Use a wide-tooth comb - Follow with fingers for stubborn knots
- Apply slip products - Leave-in conditioner or detangling spray
- Section your hair - Work in small, manageable pieces
- Hold the base - Support the weft hair extensions at the base to prevent pulling
- Be patient - Rushing leads to breakage and frustration
The key difference between curly and straight extensions lies in their structure. Curly hair's spiral shape creates more surface area for strands to catch and tangle on each other. This means your beautiful curls need extra care and the right approach to stay healthy and manageable.
Proper detangling isn't just about removing knots - it's about preserving your investment and maintaining the longevity of your extensions. When done correctly, you'll experience less shedding, better curl definition, and extensions that last longer.
I'm Priyanka Swamy, founder and CEO of Perfect Locks, and I've spent over 15 years helping women steer the challenges of extension care, including mastering how to detangle curly weaves effectively.

Why Curly Weaves Tangle & Common Mistakes
Ever wonder why your gorgeous curly weave seems to have a mind of its own when it comes to tangling? The answer lies in the spiral-shape physics of curly hair itself. Unlike straight hair that lies flat, each curl creates multiple contact points where strands can catch and interlock with each other. It's like having tiny hooks throughout your hair that naturally want to grab onto neighboring strands.
Friction and dryness are your curly weave's biggest enemies. Since extensions don't receive natural oils from your scalp, they're already starting at a moisture disadvantage. Add daily movement, wind, and even the simple act of turning your head, and you've got the perfect storm for tangling. Every time strands rub against each other, they create static and micro-damage that makes them even more likely to tangle.
Environmental factors play a huge role too. Humidity causes curls to swell and contract, leading to frizz and knots. Meanwhile, product build-up from heavy creams and gels creates a sticky residue that makes strands cling together like they're covered in invisible glue.
Your sleeping habits might be sabotaging your curls without you even knowing it. Cotton pillowcases create friction that leads to overnight matting, while tossing and turning creates tangles that seem to appear magically by morning.
Now, let's talk about the mistakes that make tangling worse. The biggest culprit? Starting at the roots when detangling. This pushes all those knots downward, creating one giant, stubborn tangle instead of addressing small ones individually. Dry-brushing is another major no-no - it's like trying to untangle a spider web with sandpaper.
Many people reach for heavy silicones thinking they'll make detangling easier, but these products actually create more buildup over time. Over-washing strips away what little moisture your extensions have, leaving them brittle and tangle-prone.
At Perfect Locks Pro, we teach stylists that understanding these tangling triggers is the first step to mastering how to detangle curly weave effectively. When you know what causes the problem, you can prevent it from happening in the first place.
The good news? Once you understand why curly weaves tangle, you can take targeted steps to minimize the issue and make your detangling sessions much more manageable.
Tools & Prep for Damage-Free Detangling
Think of detangling curly weave like preparing for a delicate art project - you wouldn't start painting without the right brushes, and you shouldn't start detangling without the proper tools. Having everything ready before you begin makes the difference between a gentle, successful session and a frustrating battle with your beautiful curls.
The foundation of learning how to detangle your curly weave effectively starts with your toolkit. A wide-tooth comb is absolutely essential - look for one with teeth spaced at least 1/4 inch apart. This spacing allows curls to pass through without snagging or breaking. Your regular fine-tooth comb might work great for straight hair, but it's your curly weave's worst enemy.
Next, invest in a detangling brush specifically designed for wet hair. These brushes have flexible bristles that bend with your hair rather than fighting against it. Look for brushes with multiple rows of bristles that work with curly textures instead of against them.
A spray bottle becomes your best friend for creating the perfect moisture level. You'll also need hair clips or scrunchies to section your hair - this keeps you organized and prevents already-detangled sections from re-tangling while you work on other areas. Choose satin scrunchies whenever possible, as they won't snag or create those annoying dents in your hair.
Don't overlook the importance of a microfiber towel for gently blotting excess water. Regular terry cloth towels are too rough and can actually create more tangles through friction. Your leave-in conditioner provides the slip that makes detangling possible - think of it as the lubricant that helps everything glide smoothly.
Timing is everything when it comes to successful detangling. Set aside adequate time - rushing is the enemy of healthy hair. For shoulder-length curly weaves, plan for 15-30 minutes. If your hair is longer or more textured, you might need up to an hour. This isn't wasted time; it's an investment in keeping your extensions looking gorgeous longer.
Build Your Detangle Kit
Creating your own detangling spray mixture gives you control over exactly what goes on your hair. The perfect recipe is surprisingly simple: mix three parts water with one part leave-in conditioner in your spray bottle. This combination provides moisture and slip without weighing down your curls.
For extra nourishment, add 2-3 drops of lightweight oil like argan or jojoba. The water adds essential moisture, the conditioner creates that crucial slip factor, and the oil helps seal the hair cuticle to lock in hydration.
Keep a small bowl handy for mixing custom treatments when you encounter particularly stubborn knots. Satin scrunchies are worth their weight in gold - they hold sections without creating tension marks or snagging delicate curls.
How to Detangle Curly Weave Safely: Step-by-Step
The moment of truth has arrived - it's time to learn how to detangle curly weave using professional techniques that actually work.
Before you even touch your first curl, take a moment to section your hair into 4-6 manageable pieces using your clips. This isn't just busy work - it's the foundation of damage-free detangling. Large sections lead to rushed work and missed tangles that become bigger problems later.
Assess each section honestly. Are you dealing with light tangles from daily wear, or did you wake up with what looks like a bird's nest? Severely matted areas need extra attention and possibly a different approach entirely. Good lighting is essential here - you can't fix what you can't see clearly.
The golden rule of how to detangle curly weave is simple: start with damp hair, never completely wet, never completely dry. Bone-dry curls are brittle and prone to breakage, while soaking wet hair stretches too much and can snap. That perfect middle ground - damp and pliable - is where the magic happens.
Apply your detangling mixture generously to each section before you begin. Don't be stingy here. The slip from your conditioner mixture is what allows the comb to glide through instead of catching and tearing. If you feel any resistance, stop and add more product.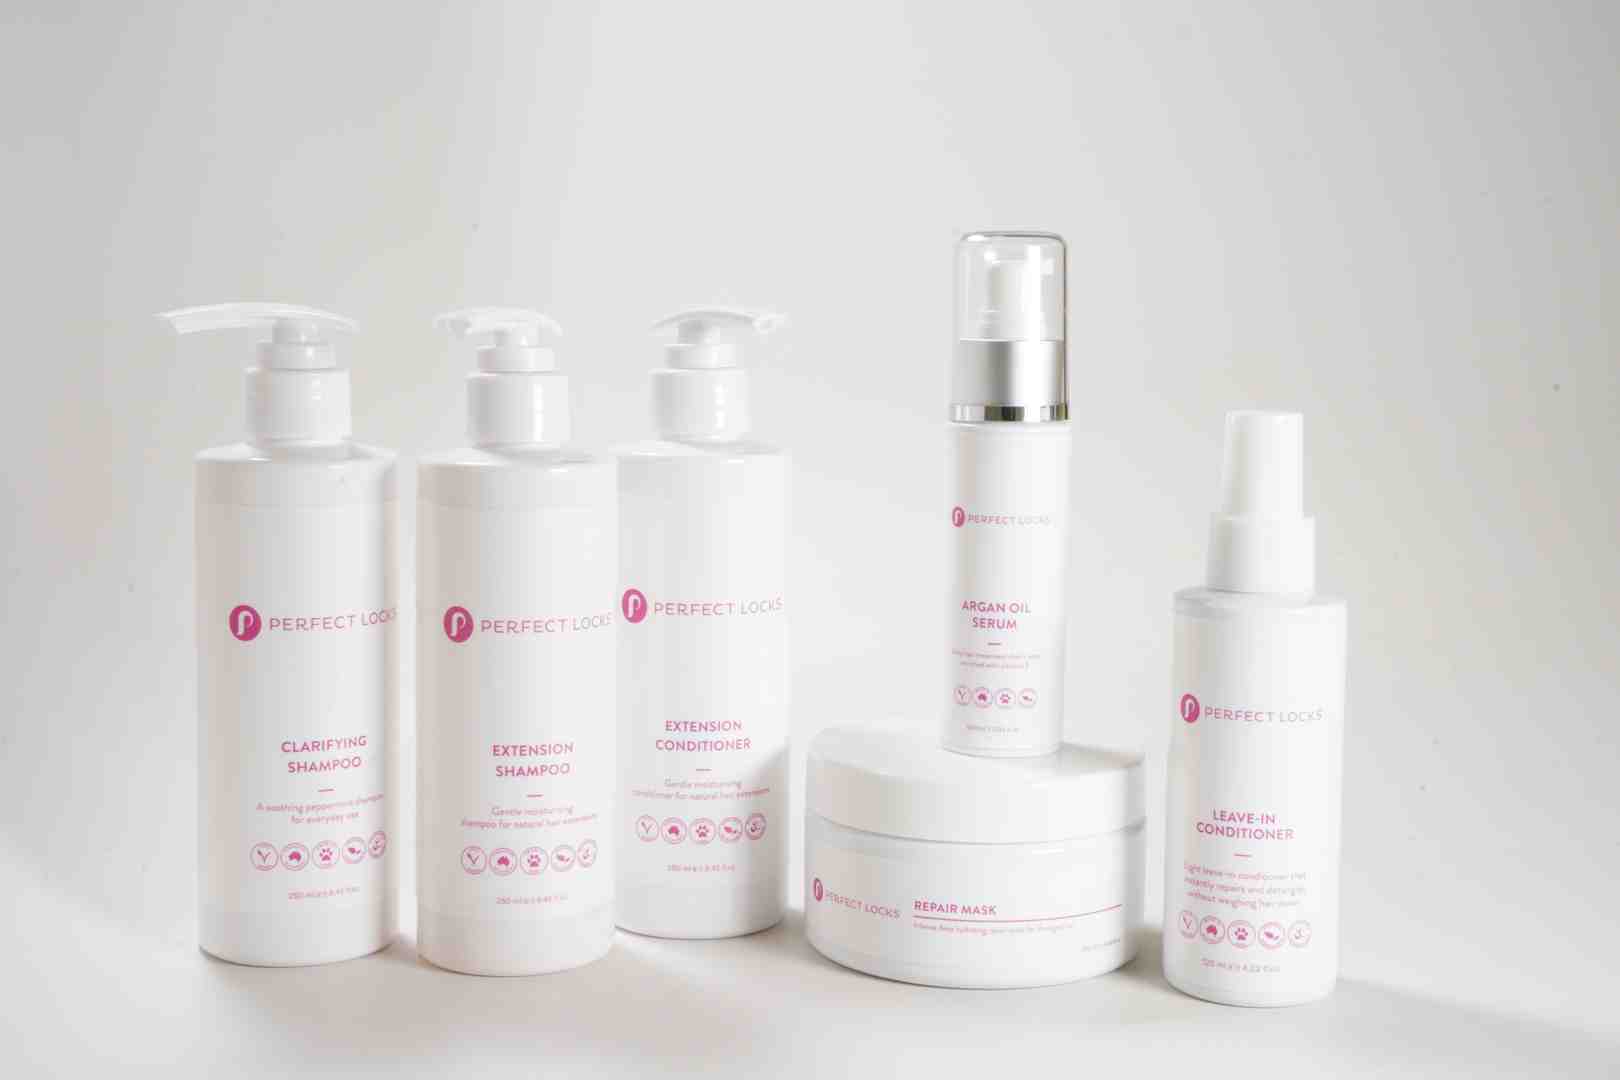
Here's where most people go wrong: they start at the roots and work down, pushing every small tangle into one giant knot at the ends. Always begin at the very tips and work your way up gradually. Hold the hair firmly about 2 inches from where you're combing to support the strands and prevent pulling on the weft.
Use your fingers first for any obvious knots you can see. Your fingers can feel what's happening in ways a comb can't, and they're much gentler on stubborn tangles. Once you've finger-detangled, then reach for your wide-tooth comb.
The difference between wet and dry detangling comes down to your specific situation:
| Method | Best For | Pros | Cons |
|---|---|---|---|
| Wet Detangling | Regular maintenance | Less breakage, better slip | Takes longer to dry |
| Dry Detangling | Emergency situations | Quick touch-ups | More breakage risk |
| Combination | Severely matted hair | Targeted approach | Requires more skill |
Most of the time, you'll want to stick with the wet method for your regular maintenance routine. Save dry detangling for those emergency touch-ups when you're short on time.
How to Detangle Curly Weave: Wet Method
The wet method is our go-to recommendation for anyone learning how to detangle curly weaves properly. It's gentler on the hair, more effective at removing tangles, and gives you better long-term results.
Start by misting each section with your spray bottle until the hair feels damp to the touch. You're not trying to soak it - just add enough moisture to make the strands pliable. Work your leave-in conditioner or detangling spray through with your fingers, making sure every strand is coated.
Now comes the methodical part. Begin at the very ends with your wide-tooth comb, working on just the bottom inch or two of hair. Use gentle downward strokes, always combing in the direction the hair naturally wants to go. Fighting against the curl pattern will only create more tangles.
Work gradually upward - and I mean gradually. Move up only 1-2 inches at a time, ensuring each section is completely smooth before moving higher. This might feel slow, but it's infinitely faster than having to start over because you pushed a tangle up into a bigger knot.
Support the scalp area by holding the hair firmly at the root. This prevents any pulling on your natural hair or the weft attachment. Your supporting hand should move up as you work through each section, always staying above where you're combing.
Keep your spray bottle handy throughout the process. Hair dries out quickly, especially in air-conditioned rooms, and you'll need to re-dampen sections as you work. The moment you feel the comb start to drag instead of glide, it's time for more moisture.
How to Detangle Curly Weave: Dry Rescue for Severe Matting
Sometimes life happens, and you find yourself facing a matting situation that needs immediate attention. Learning how to detangle your curly weave when it's severely matted requires a different approach and extra patience.
Pre-soften the matted area with a light mist of warm water - just enough to add some flexibility without soaking the hair. Follow this with a few drops of lightweight oil like argan or jojoba worked gently into the problem area. The oil helps lubricate individual strands so they can slip past each other.
Start with gentle finger work on the outer edges of the mat. Don't attack the center - that's usually where the knot is tightest. Instead, work around the perimeter, carefully teasing apart individual strands. This "pick and pull" method takes time, but it's much gentler than forcing a comb through.
Some fairy knots - those tiny single-strand knots that seem to appear out of nowhere - simply won't budge no matter how patient you are. Use small scissors to carefully snip these individual problem strands, but be extremely conservative. It's better to leave a stubborn knot than to accidentally cut too much hair.
Know when to call for backup. If you've been working on a matted section for more than 30 minutes without significant progress, or if the matting covers more than a quarter of your weave, it's time to seek professional help. A skilled stylist can often save hair that seems hopeless to untrained hands.

Minimize Shedding & Breakage
Even with perfect technique, some shedding during detangling is completely normal - hair naturally sheds as part of its lifecycle. The key is understanding the difference between normal shedding and excessive breakage that indicates a problem.
Hold proper tension throughout the process by supporting the hair above where you're working. This distributes the stress across the entire length rather than concentrating it at the attachment point. Your supporting hand should feel firm but not tight - think of holding a bird that you don't want to escape but also don't want to hurt.
Use short, gentle strokes rather than trying to comb through large sections at once. Long, aggressive strokes are more likely to catch on hidden tangles and cause breakage. Short strokes give you better control and allow you to feel problems before they become disasters.
Add slip frequently - more often than you think you need. The moment you feel any drag or resistance, stop and reapply your detangling product. It's impossible to use too much slip product during this process, but it's very easy to use too little.
Normal shedding during detangling should be minimal - maybe 5-10 strands per section. If you're seeing significantly more than this, or if the hair feels brittle and keeps breaking, stop and reassess your technique.
Rushing leads to breaking. Set aside adequate time for this process and resist the urge to speed through it. Your curls - and your sanity - will thank you for taking the gentle approach.
Maintenance & Hydration Routines to Keep Curls Knot-Free
The secret to mastering how to detangle curly weaves isn't just about technique - it's about preventing tangles from forming in the first place. Think of it like taking care of a garden: daily watering and weekly feeding keep everything healthy and thriving.
Your curly weave needs consistent moisture to stay tangle-free. Unlike your natural hair, extensions don't receive oils from your scalp, which means they rely entirely on the products and care you provide.
Daily Hydration is Your Best Friend
Start each morning by giving your curls a light drink. Mix water with a small amount of leave-in conditioner in a spray bottle and mist your hair gently. This simple step reactivates your styling products from the night before and adds the moisture your curls crave.
In the evening, your hair needs protection from the friction that causes overnight tangling. Cotton pillowcases might feel soft to your skin, but they create havoc for curly hair. The rough fibers grab onto your curls and twist them into knots while you sleep.

Sleep Like a Pro
Satin or silk materials are game-changers for curly weave maintenance. These smooth fabrics allow your hair to glide instead of catching and pulling. You can choose between a satin pillowcase for easy maintenance or a satin bonnet for complete protection.
For longer hair, try the pineapple method - gather your curls very loosely at the very top of your head with a satin scrunchie. This keeps the length off your neck and shoulders while you sleep. If your hair is too short for pineappling, loose braids work wonderfully to prevent tangling without creating unwanted waves.
Weekly Deep Conditioning Sessions
Your curls need a weekly spa day to stay healthy and manageable. Deep conditioning treatments provide intensive moisture that prevents the dryness leading to tangles and breakage. Consistent deep conditioning can reduce tangling by up to 60%.
Apply a hydrating mask to damp hair, focusing on the mid-lengths and ends where dryness occurs most. Cover with a plastic cap and let the treatment work for 30 minutes. The heat from your scalp helps the conditioner penetrate deeper into the hair shaft.
Smart Heat Styling Choices
Heat can be your curly weave's enemy if not used carefully. Limit heat styling to preserve your curl pattern and prevent dryness that leads to tangling. When you do use heat tools, always apply a heat protectant and use the lowest temperature that achieves your desired results.
Give your hair regular heat-free days to recover and maintain its natural moisture balance. This is especially important during dry winter months or in air-conditioned environments that can zap moisture from your curls.
Hydration from the Inside Out
Humectants like glycerin and aloe vera in your styling products draw moisture from the air into your hair. These ingredients work best in moderate humidity but should be used sparingly in very dry or very humid conditions to prevent frizz.
The key to successful curly weave maintenance is consistency. Small daily efforts prevent the major tangles that require extensive detangling sessions. Prevention-focused care routines extend the life of extensions significantly while keeping them looking salon-fresh.
More info on preventing matting
Conclusion
Learning how to detangle curly weave doesn't have to be a battle between you and your beautiful curls. With the right techniques, tools, and mindset, detangling can become a relaxing self-care ritual that keeps your extensions looking gorgeous for months.
The journey we've taken together through this guide comes down to a few essential truths: patience beats speed every time, moisture is your best friend, and the right technique can save you hours of frustration. When you start at the ends, work with damp hair, and use proper slip products, you're not just removing tangles - you're preserving your investment and maintaining the health of your curls.
At Perfect Locks, we've spent over 15 years perfecting not just our premium hair extensions, but also the education that helps you care for them. Our ethically sourced curly extensions are crafted with careful cuticle alignment and double-weft construction specifically to minimize tangling when you use these proper care techniques.
The time you invest in mastering these skills pays compound interest. Every gentle detangling session preserves your curls' integrity. Every night you protect your hair with satin materials prevents morning tangles. Every weekly deep conditioning treatment extends the life of your extensions by weeks or even months.
Your curls are unique and beautiful - they deserve care that honors their natural texture rather than fighting against it. The detangling curly weave methods we've shared work because they respect the spiral structure of curly hair while providing the moisture and slip needed for gentle manipulation.
Whether you're just starting your curly extension journey or you're a seasoned weave wearer looking to improve your routine, these techniques will transform your relationship with your curls. Start with the basic wet detangling method, build your detangling kit gradually, and be patient with yourself as you develop muscle memory for these new techniques.
Your future self will thank you for every gentle stroke, every patient moment, and every protective measure you take today. Beautiful, healthy curls are absolutely within your reach - you now have the roadmap to get there.

Author and Founder of Perfect Locks LLC
Priyanka Swamy, the visionary founder of Perfect Locks LLC, is a passionate advocate for empowering women and promoting cultural diversity. With an unwavering commitment to ethical sourcing and quality craftsmanship, she redefined the hair extension market and created a supportive community that celebrates individuality.
Priyanka's dedication to sustainability and social responsibility continues to inspire positive change within the industry. Her journey with Perfect Locks remains an inspiration, unlocking the true potential and confidence of countless individuals worldwide.